Register a Tech Adapter
This guide will walk you through registering a Tech Adapter in Witboost. Tech Adapters are microservices responsible for the validation and provisioning of components. When the platform team wants to support a new technology, a new Tech Adapter microservice compliant with the Technology Adapter API must be created and registered.
1. Administration Panel
Let's go in the administration panel of Witboost

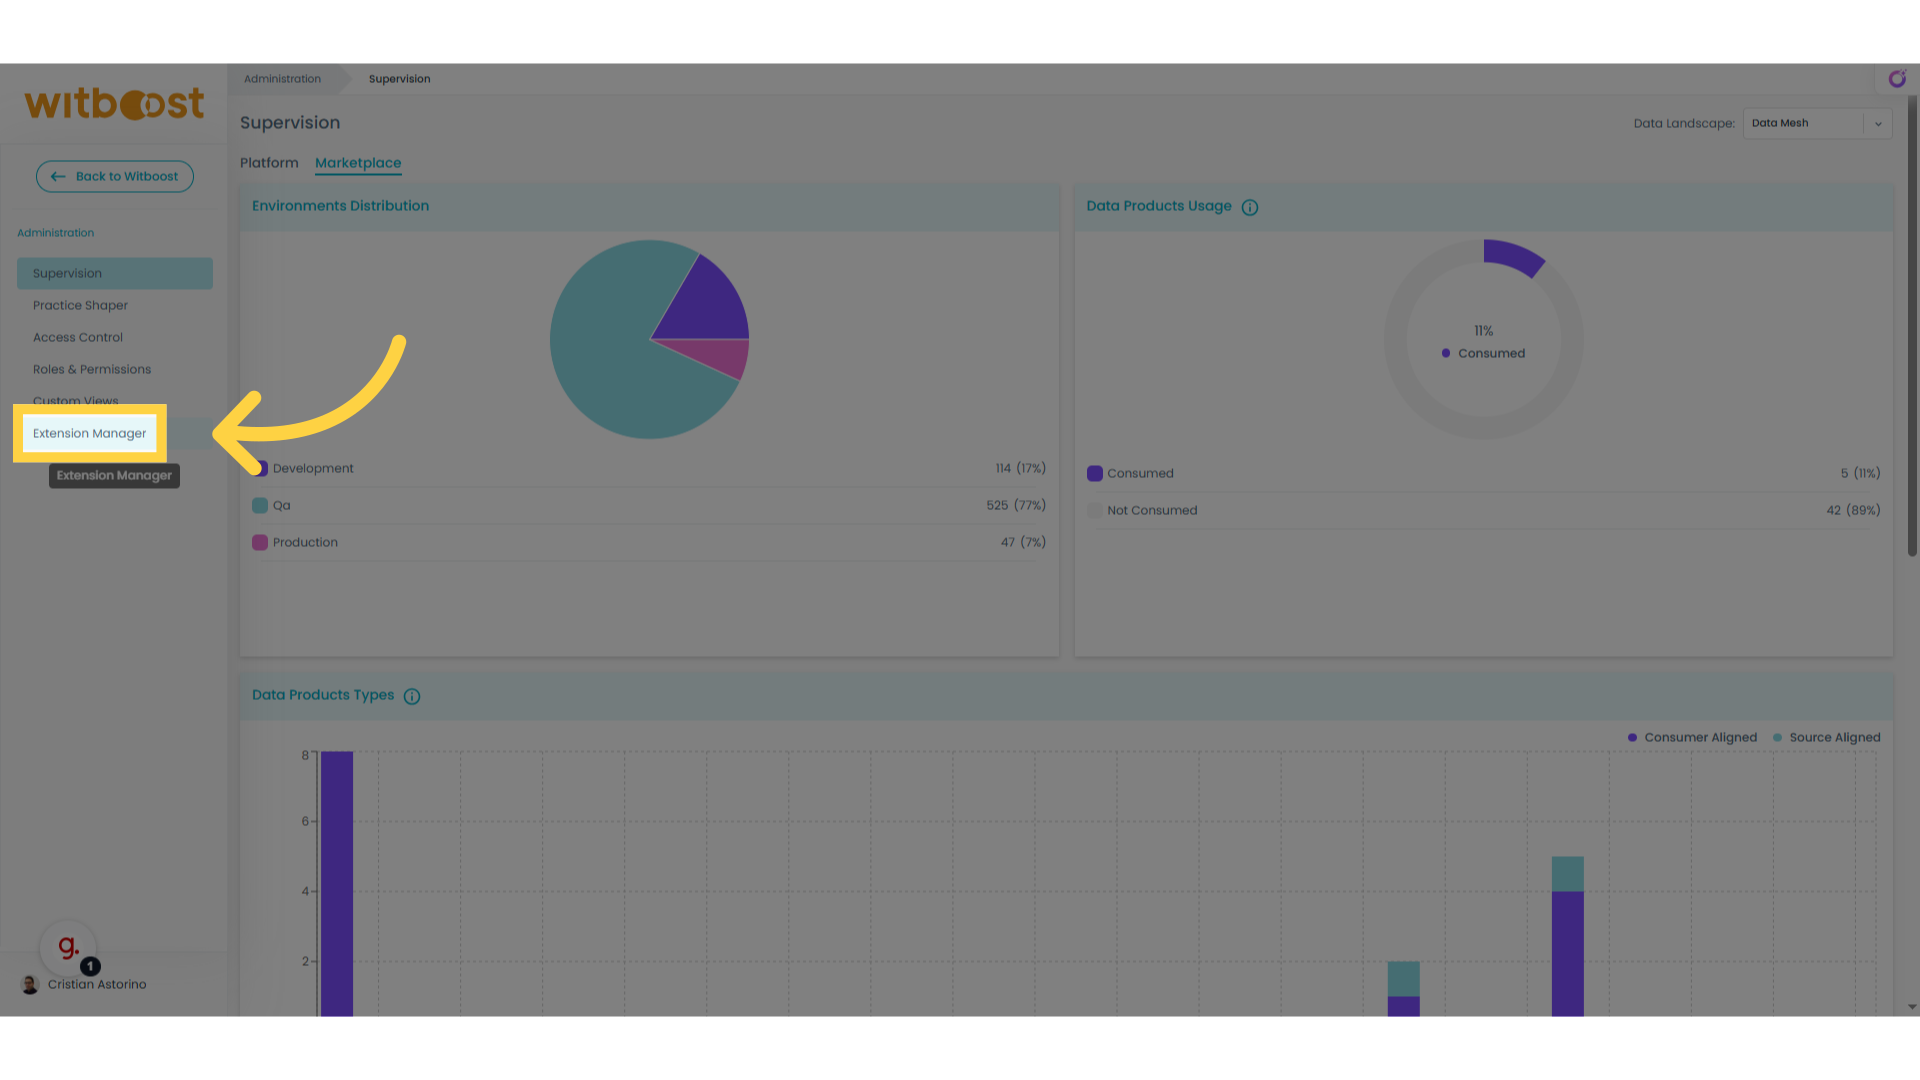
2. Click "Extension Manager"
Navigate to the "Extension Manager" section.
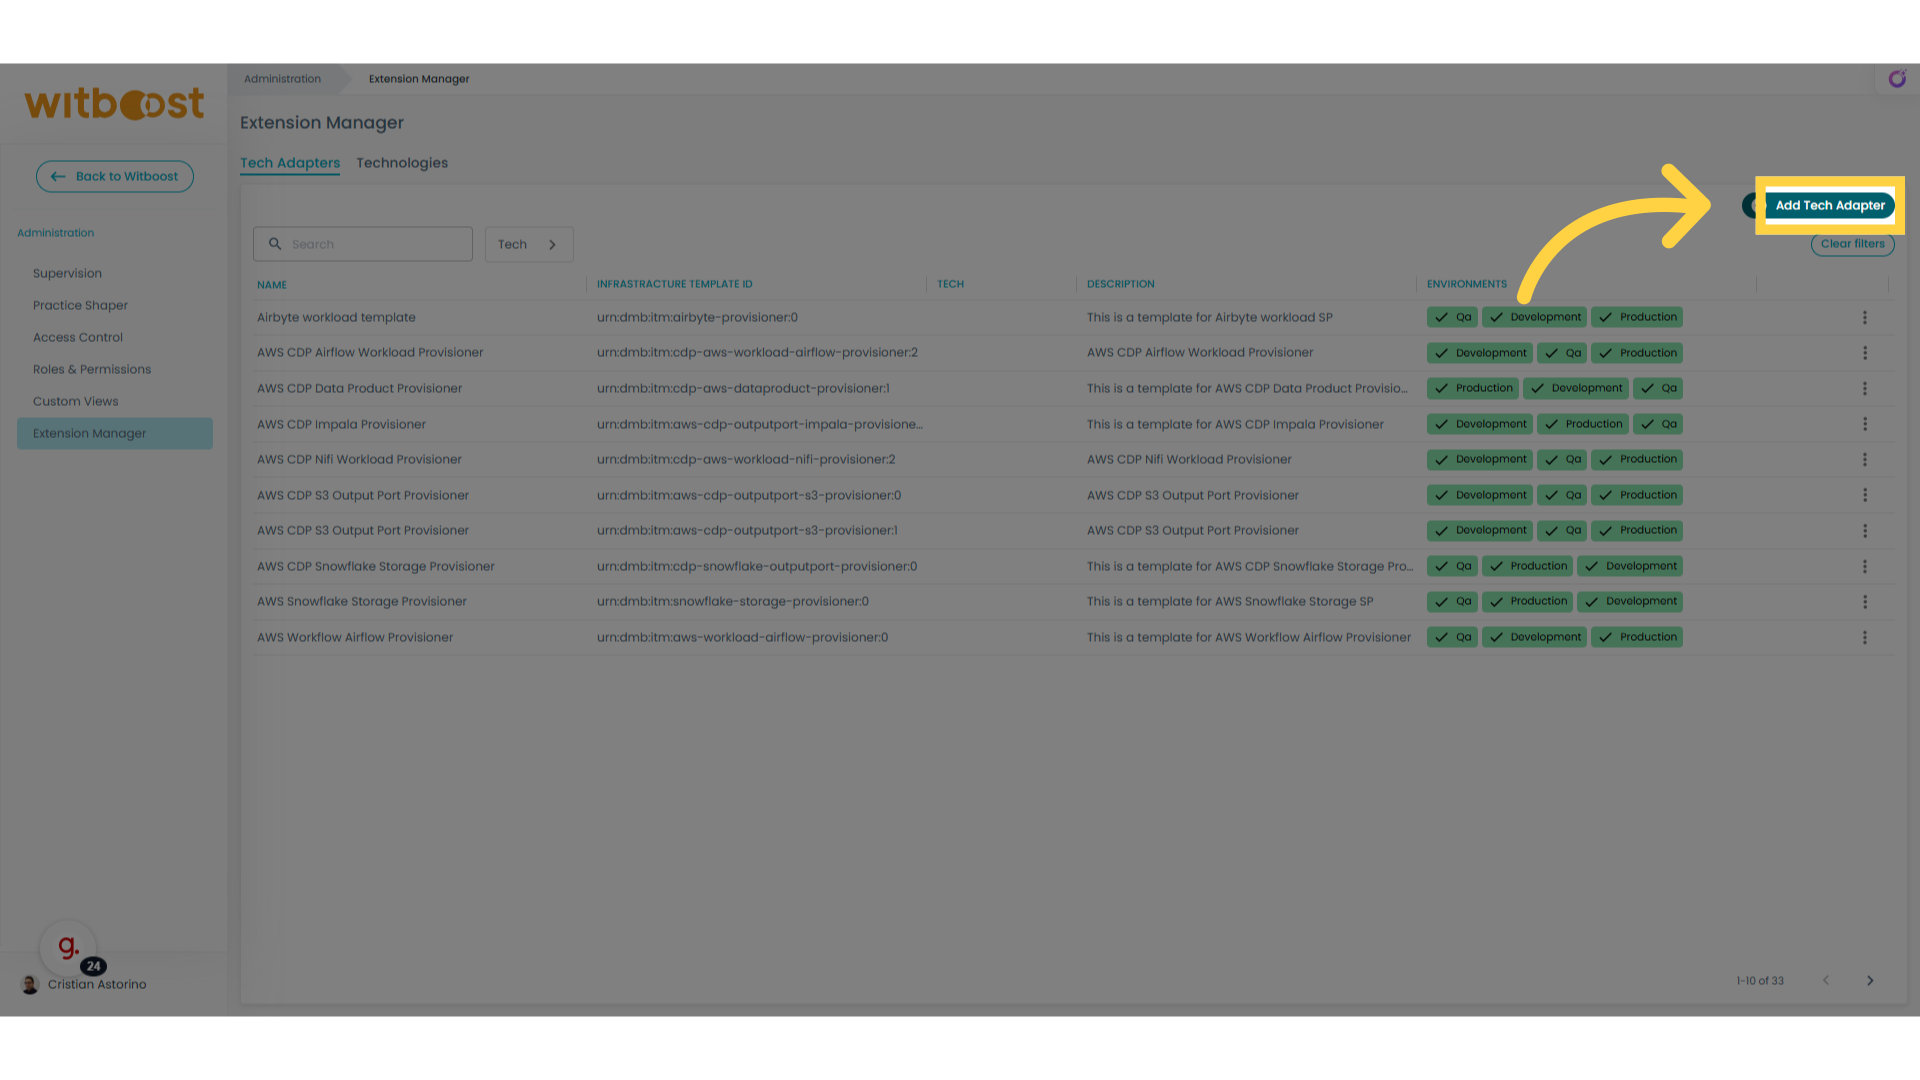
3. Click "Add Tech Adapter"
Select "Add Tech Adapter" option.
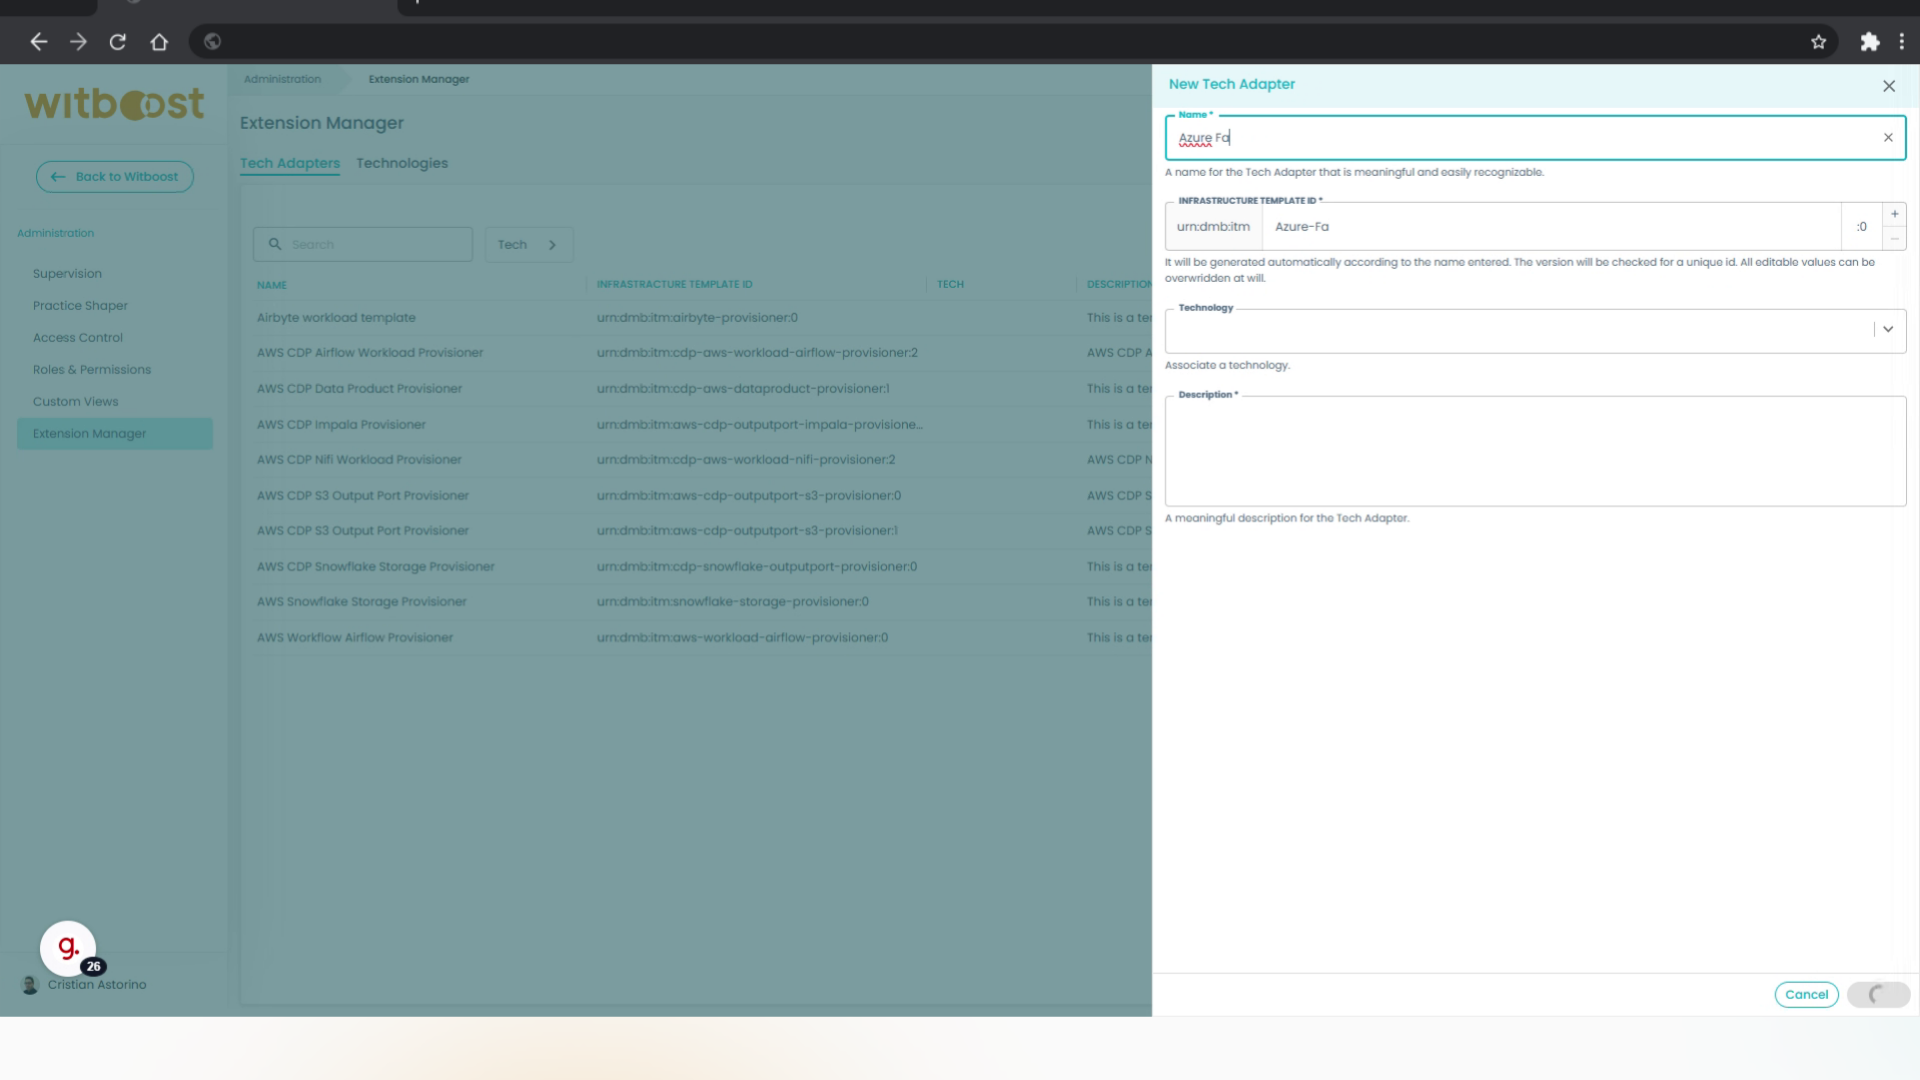
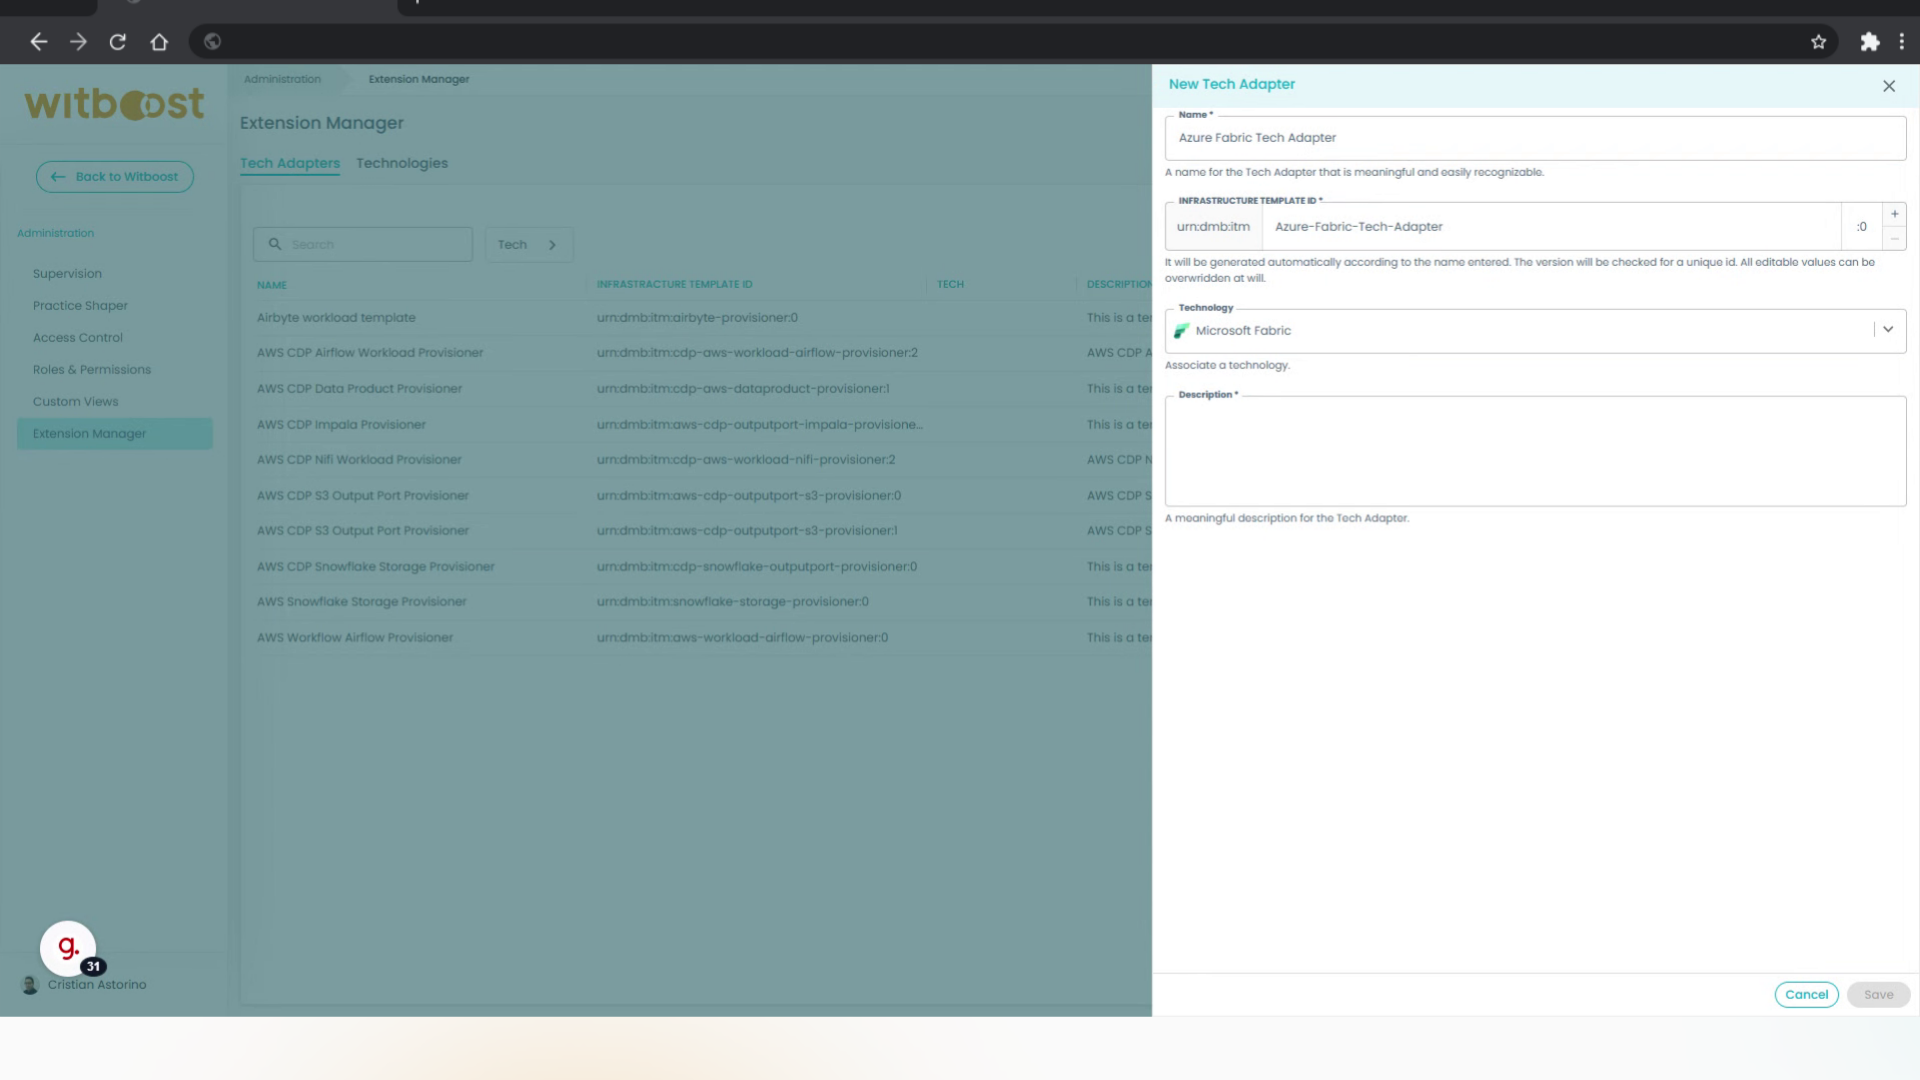
4. Enter a name
Enter a name for the Tech Adapter. Ensure that the generated Infrastructure Template Id field value is compatible with what's present in your component template, else modify the value accordingly.
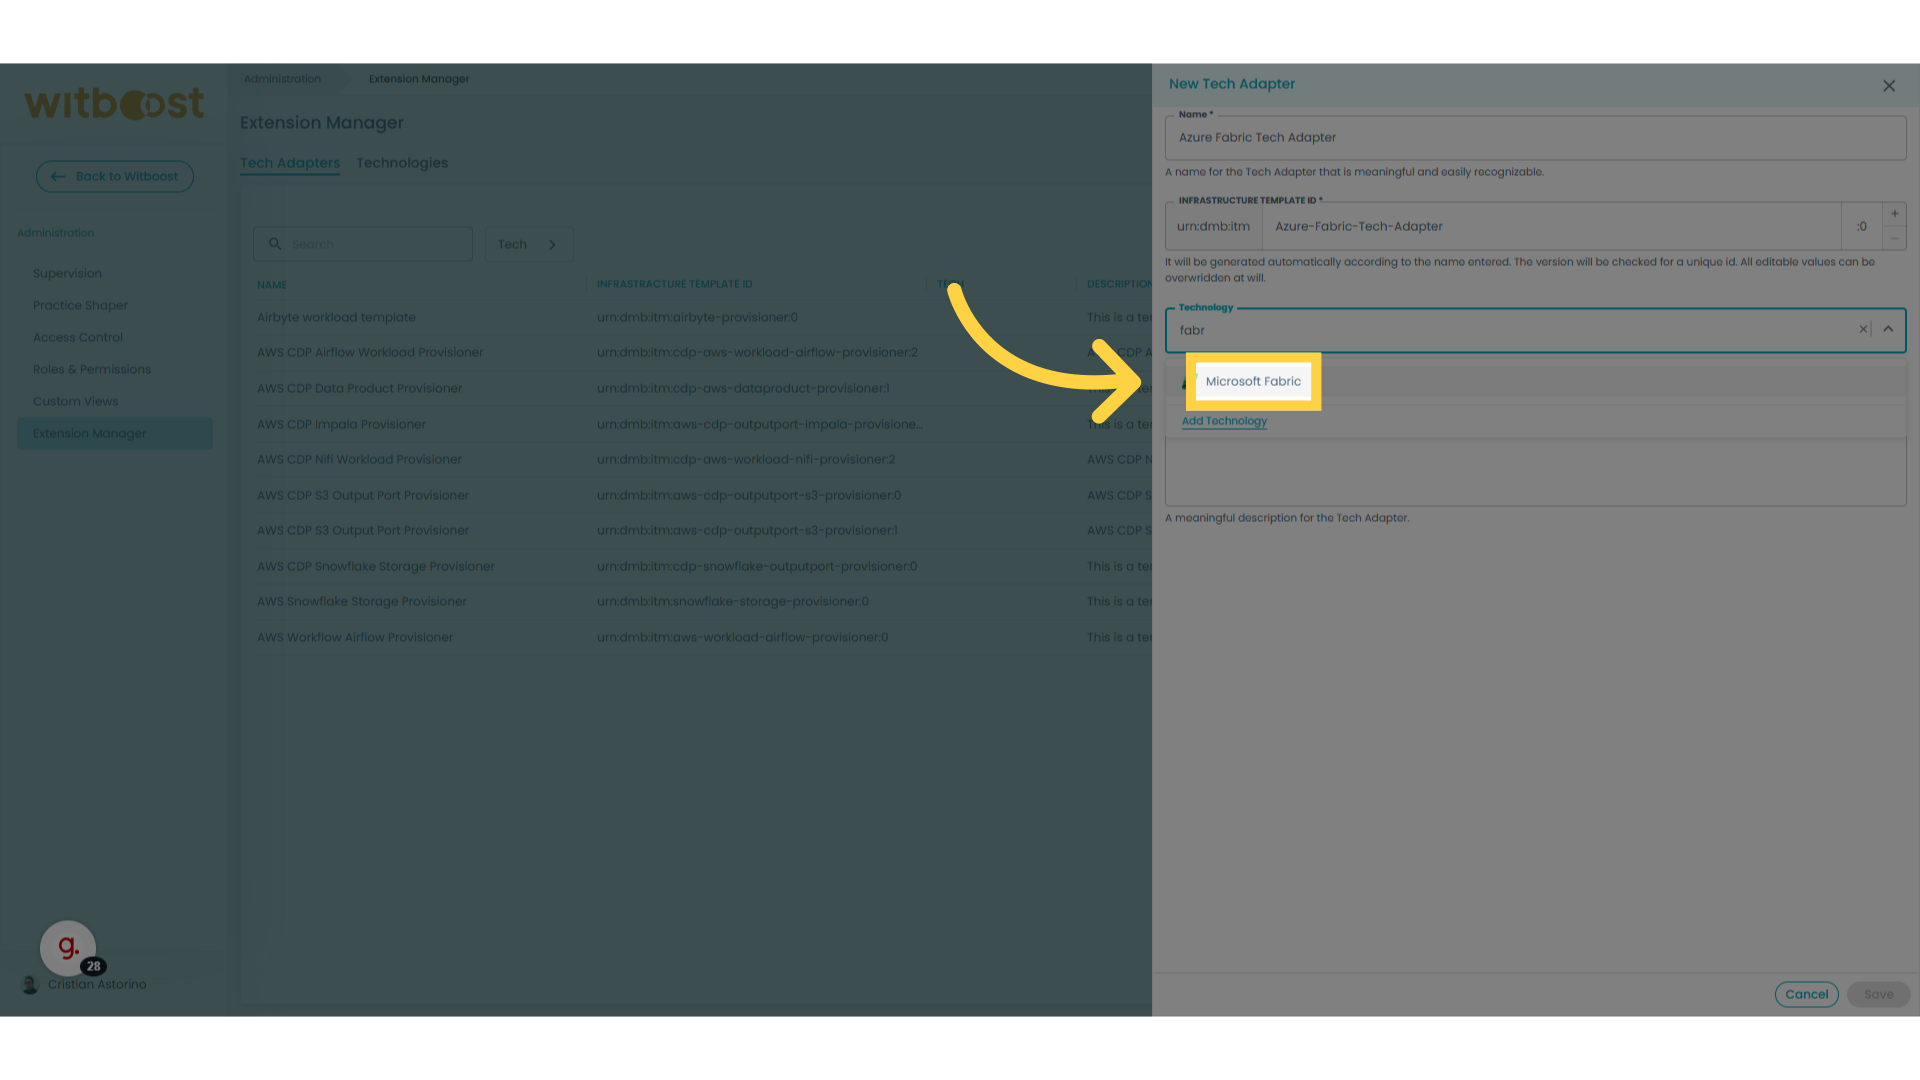
5. Select the Technology
Optionally select the appropriate Technology from the dropdown. This field is not required and is used only as metadata. If the technology you want is not listed, you can define a new one from the Technologies tab.
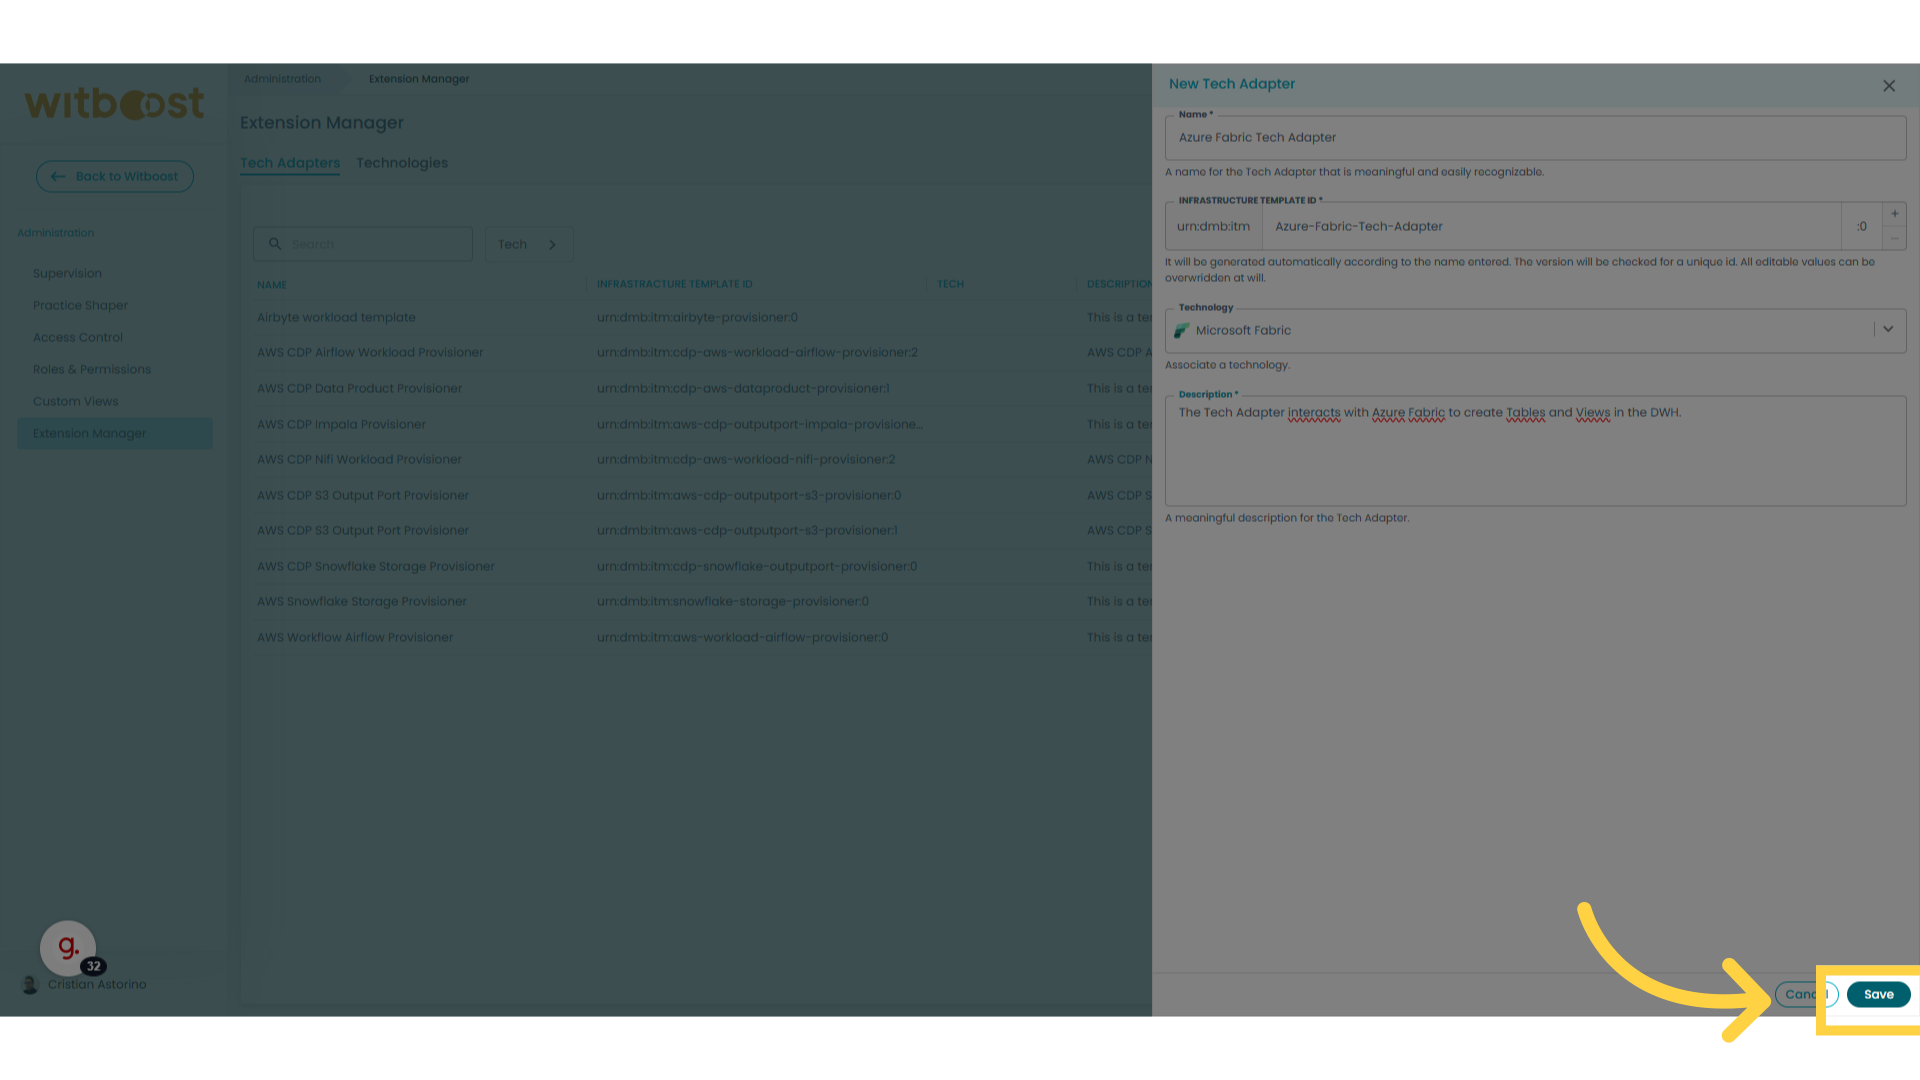
6. Provide a description
Provide a meaningful description for the Tech Adapter
7. Click "Save"
Save the changes made.
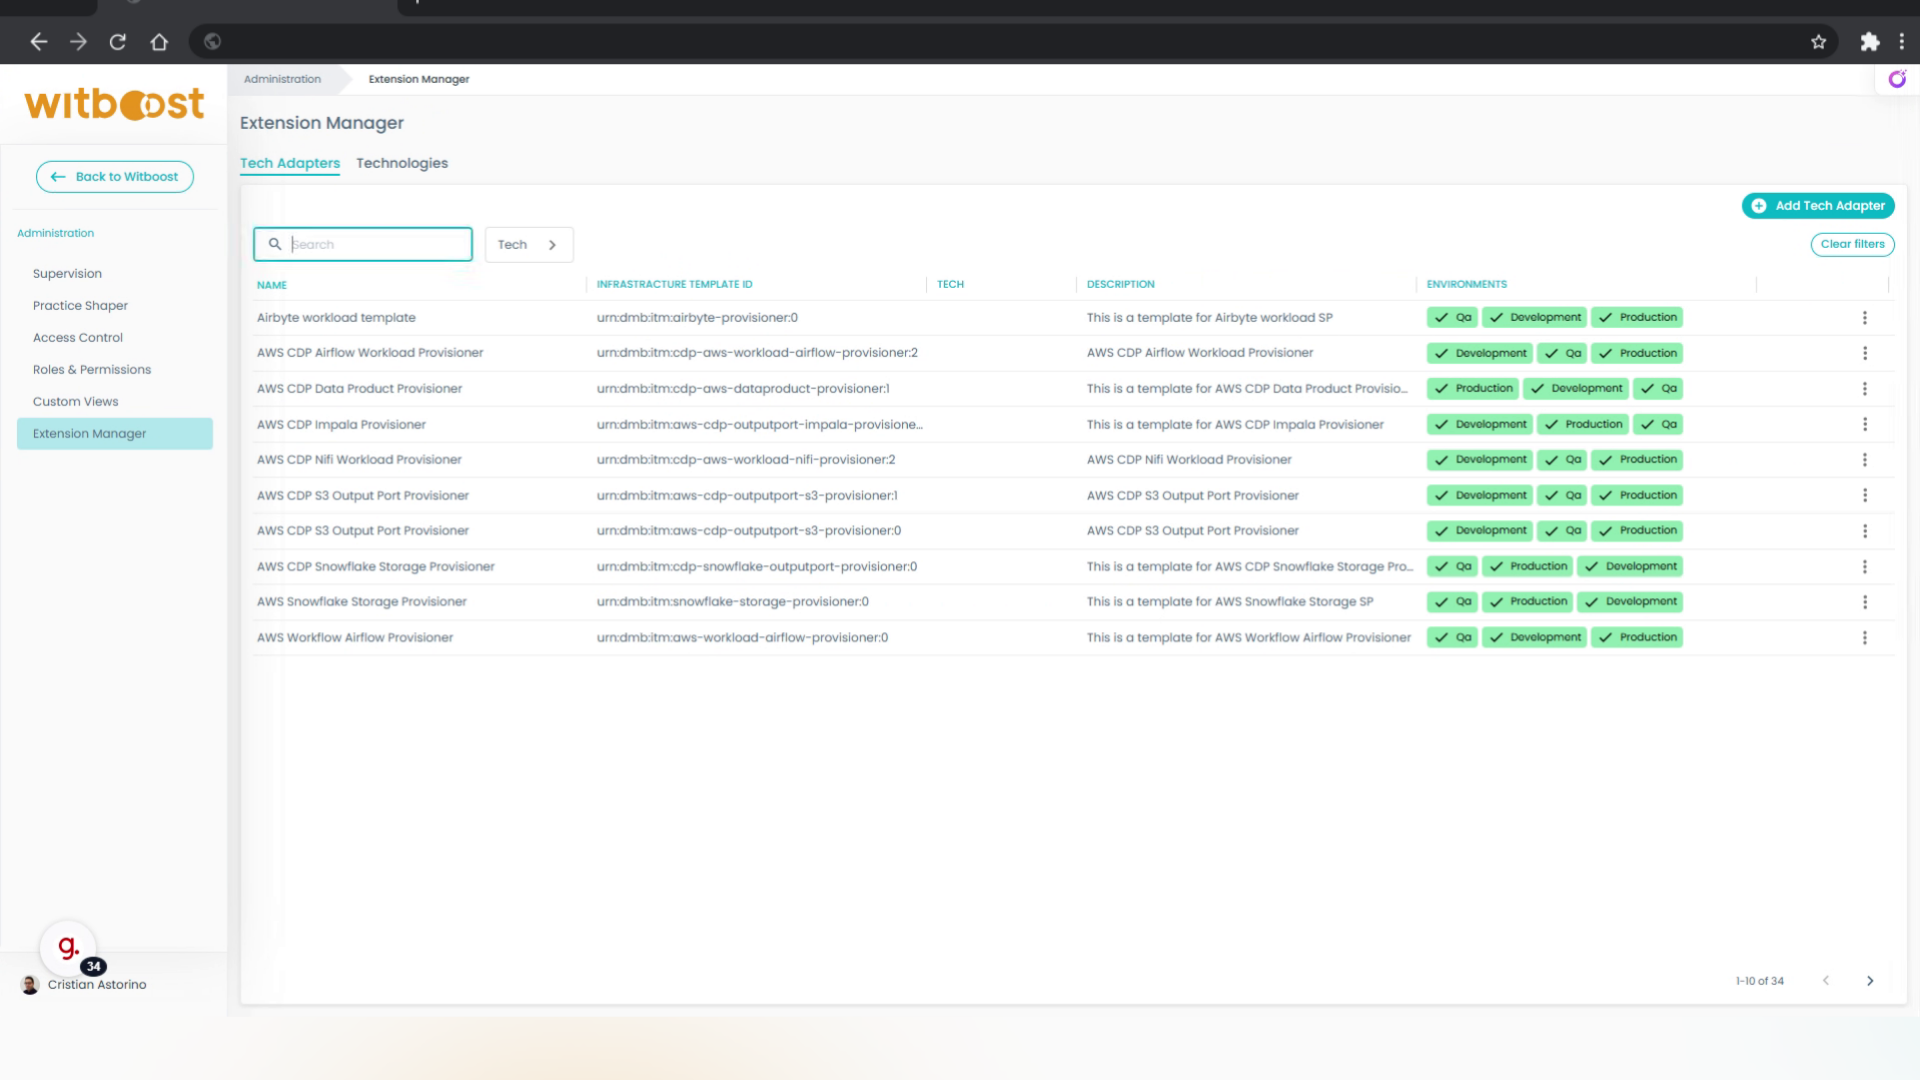
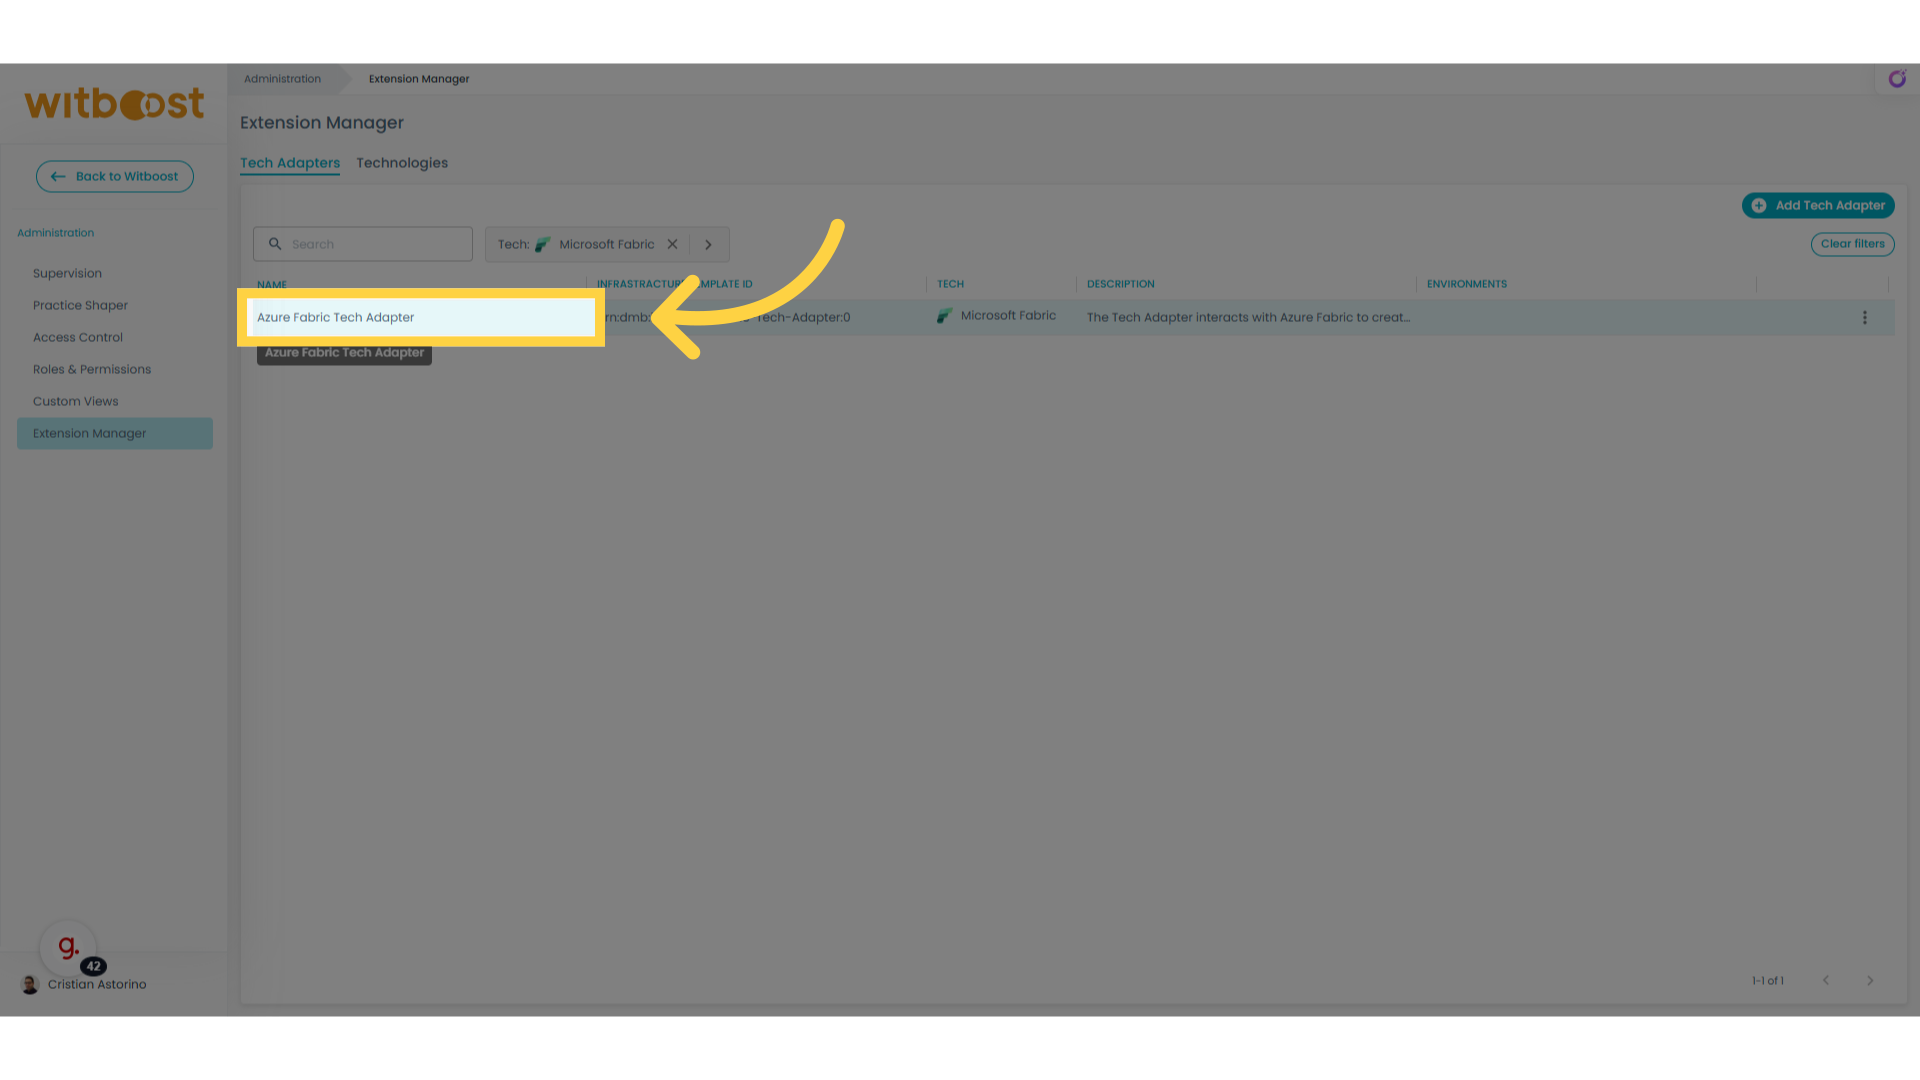
8. Filter by Name
You can search for a Tech Adapter by its name using the search filter
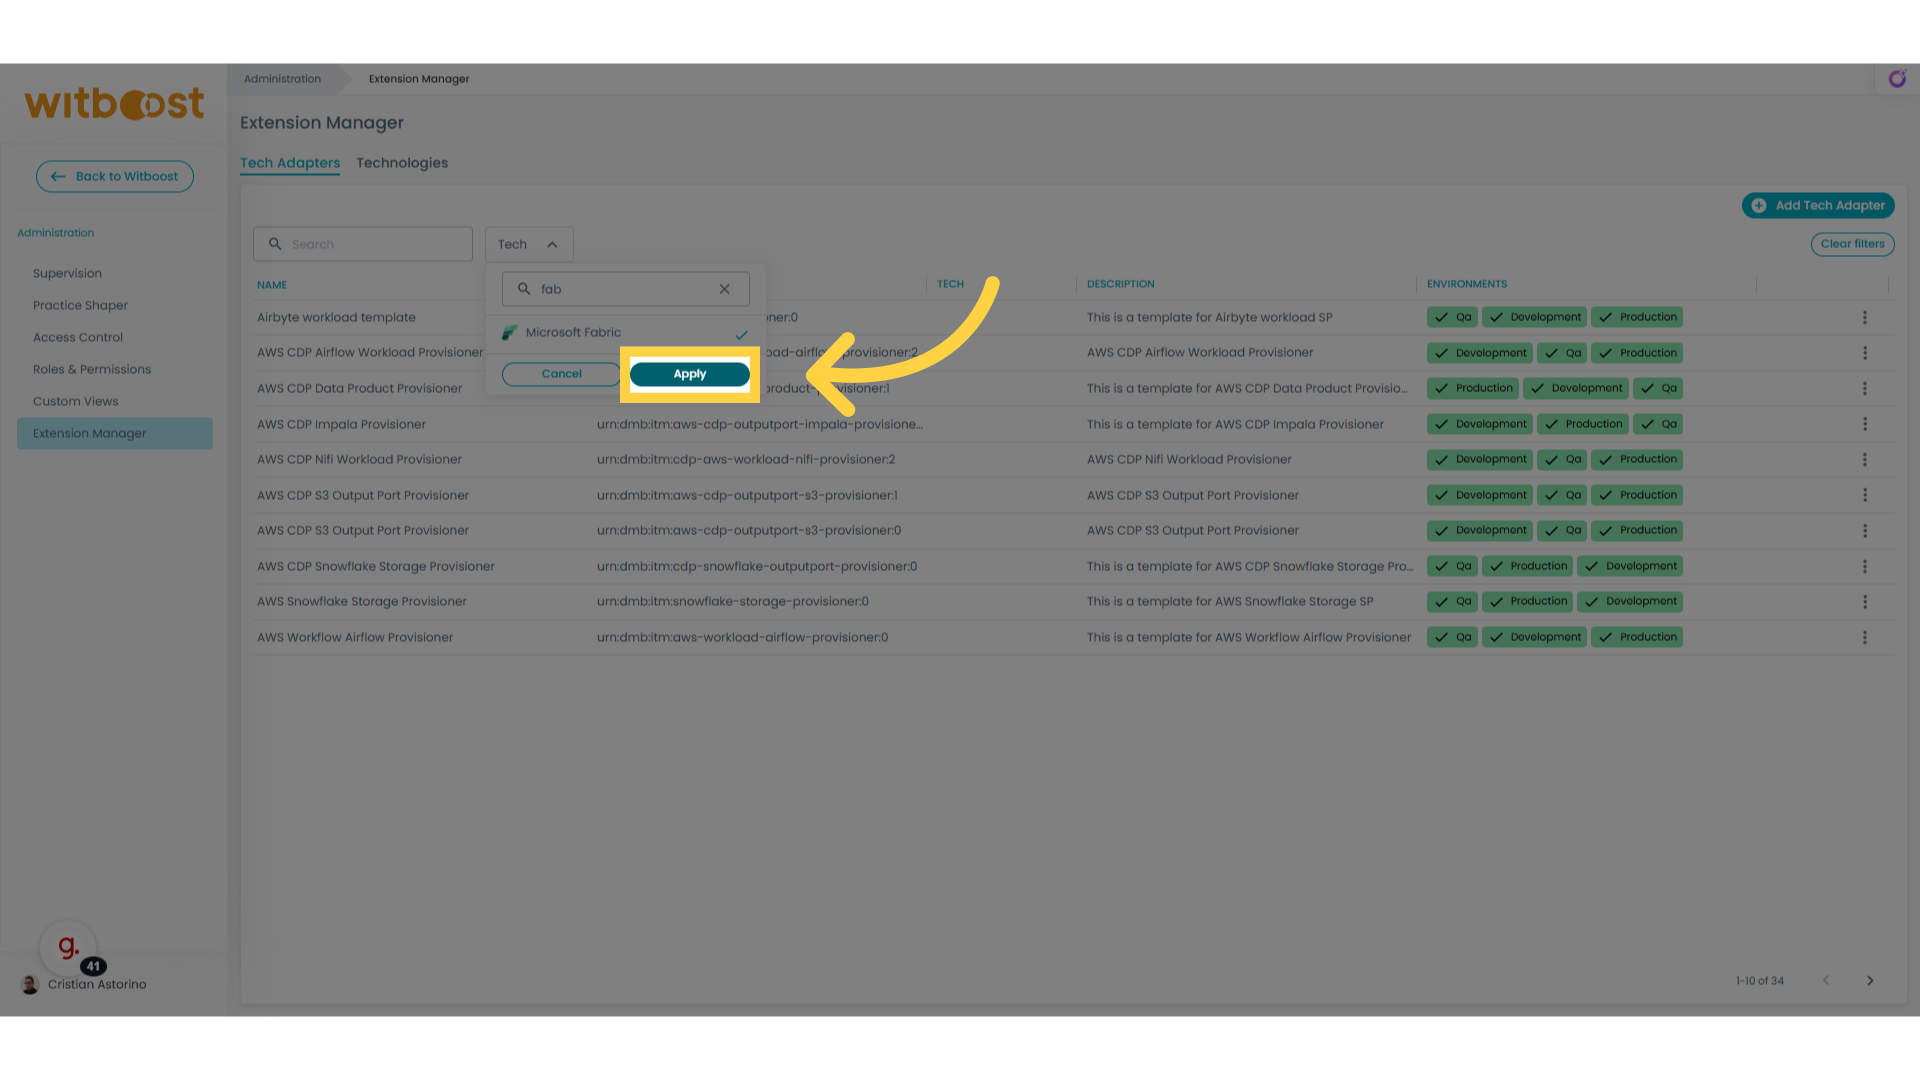
9. Filter by Technology
You can also filter the Tech Adapter list by selecting the appropriate Technology
10. Select the newly created entry
Select the newly created Tech Adapter
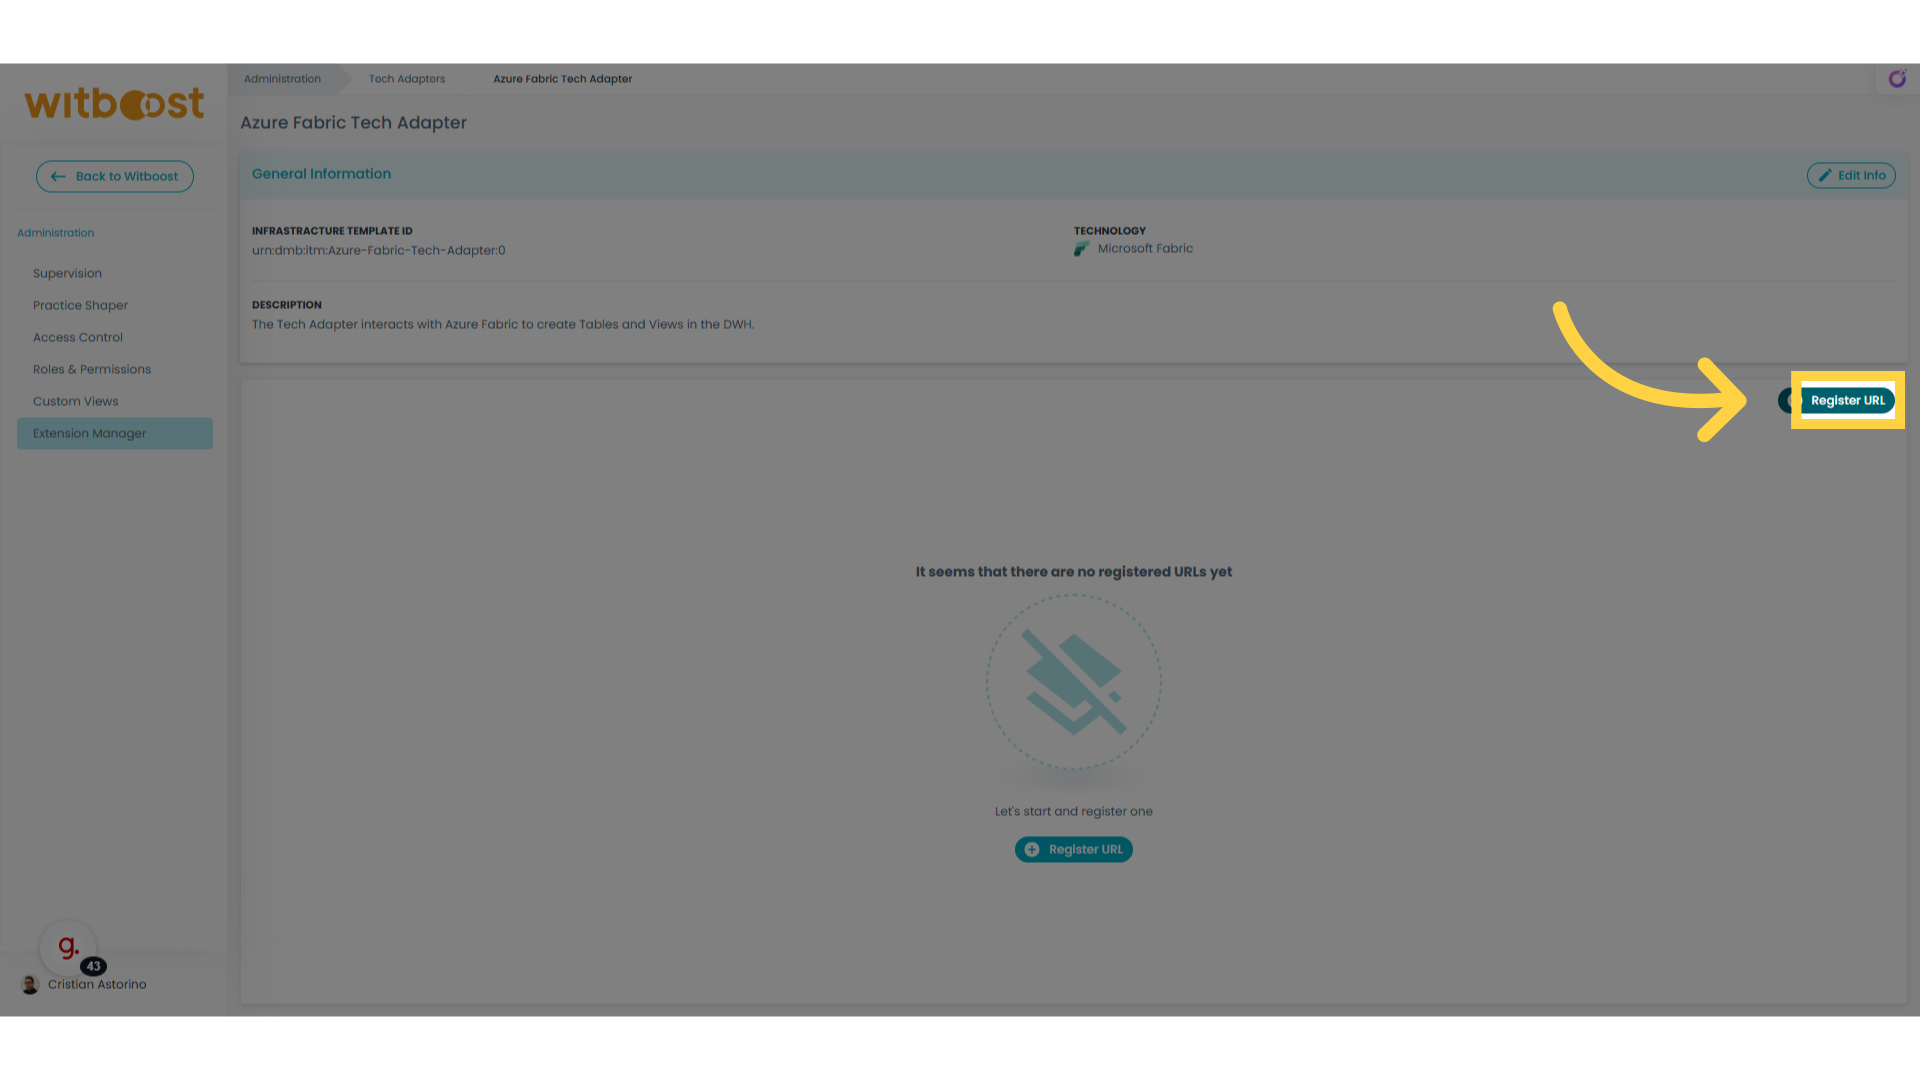
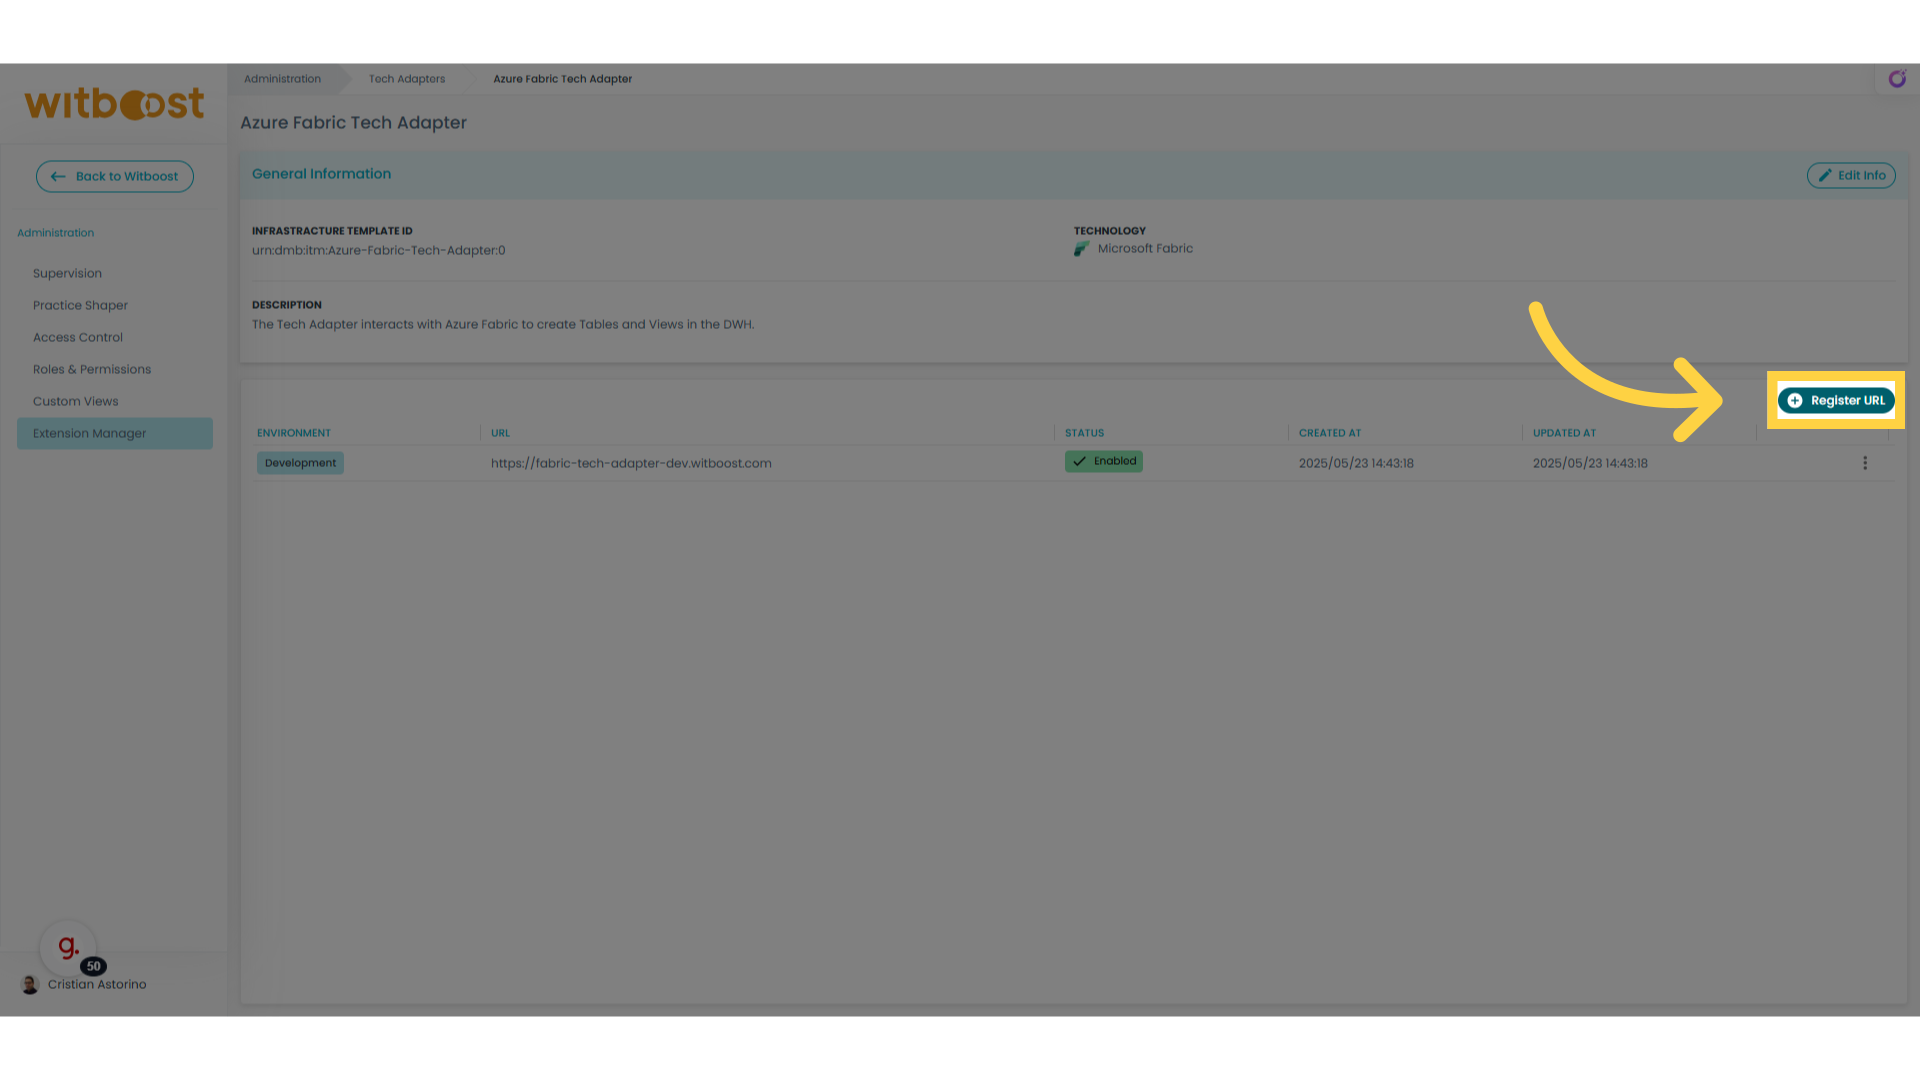
11. Click "Register URL"
From here we can define the microservice URLs for the environments we want to support
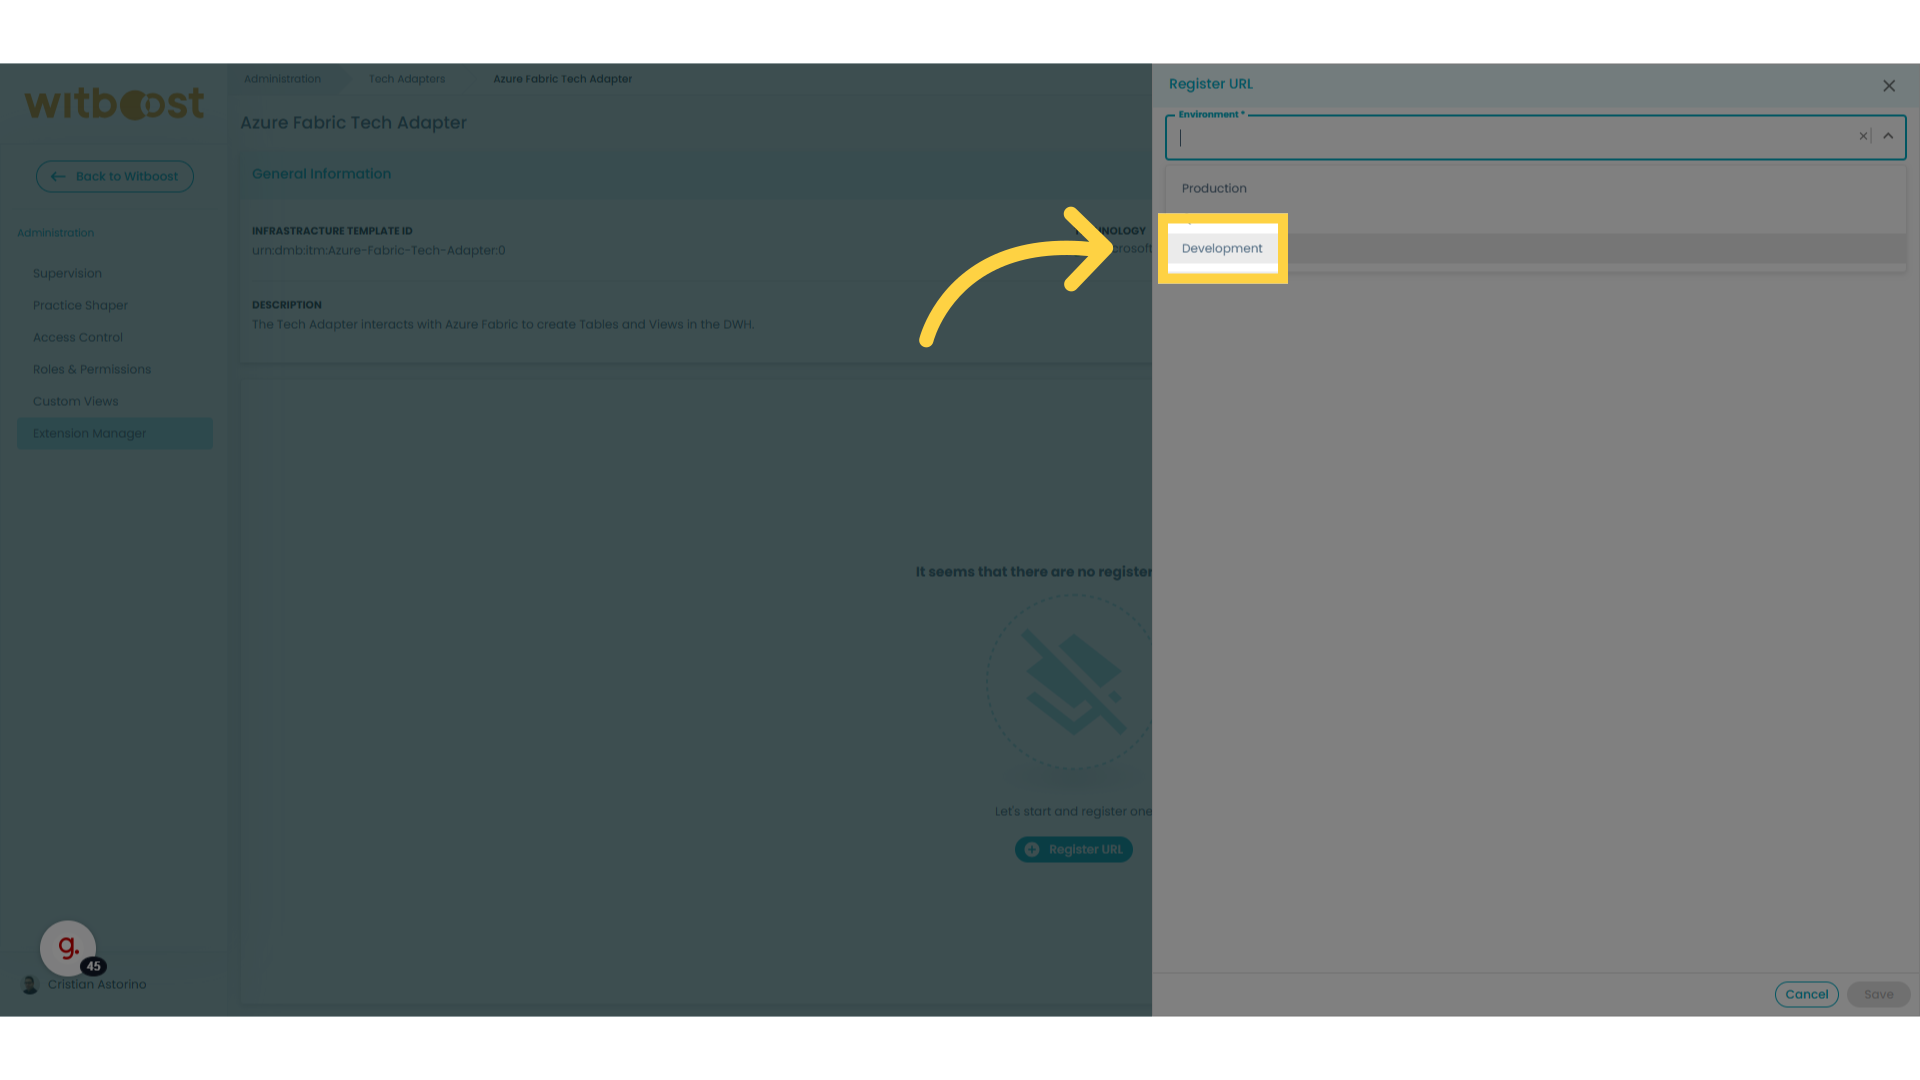
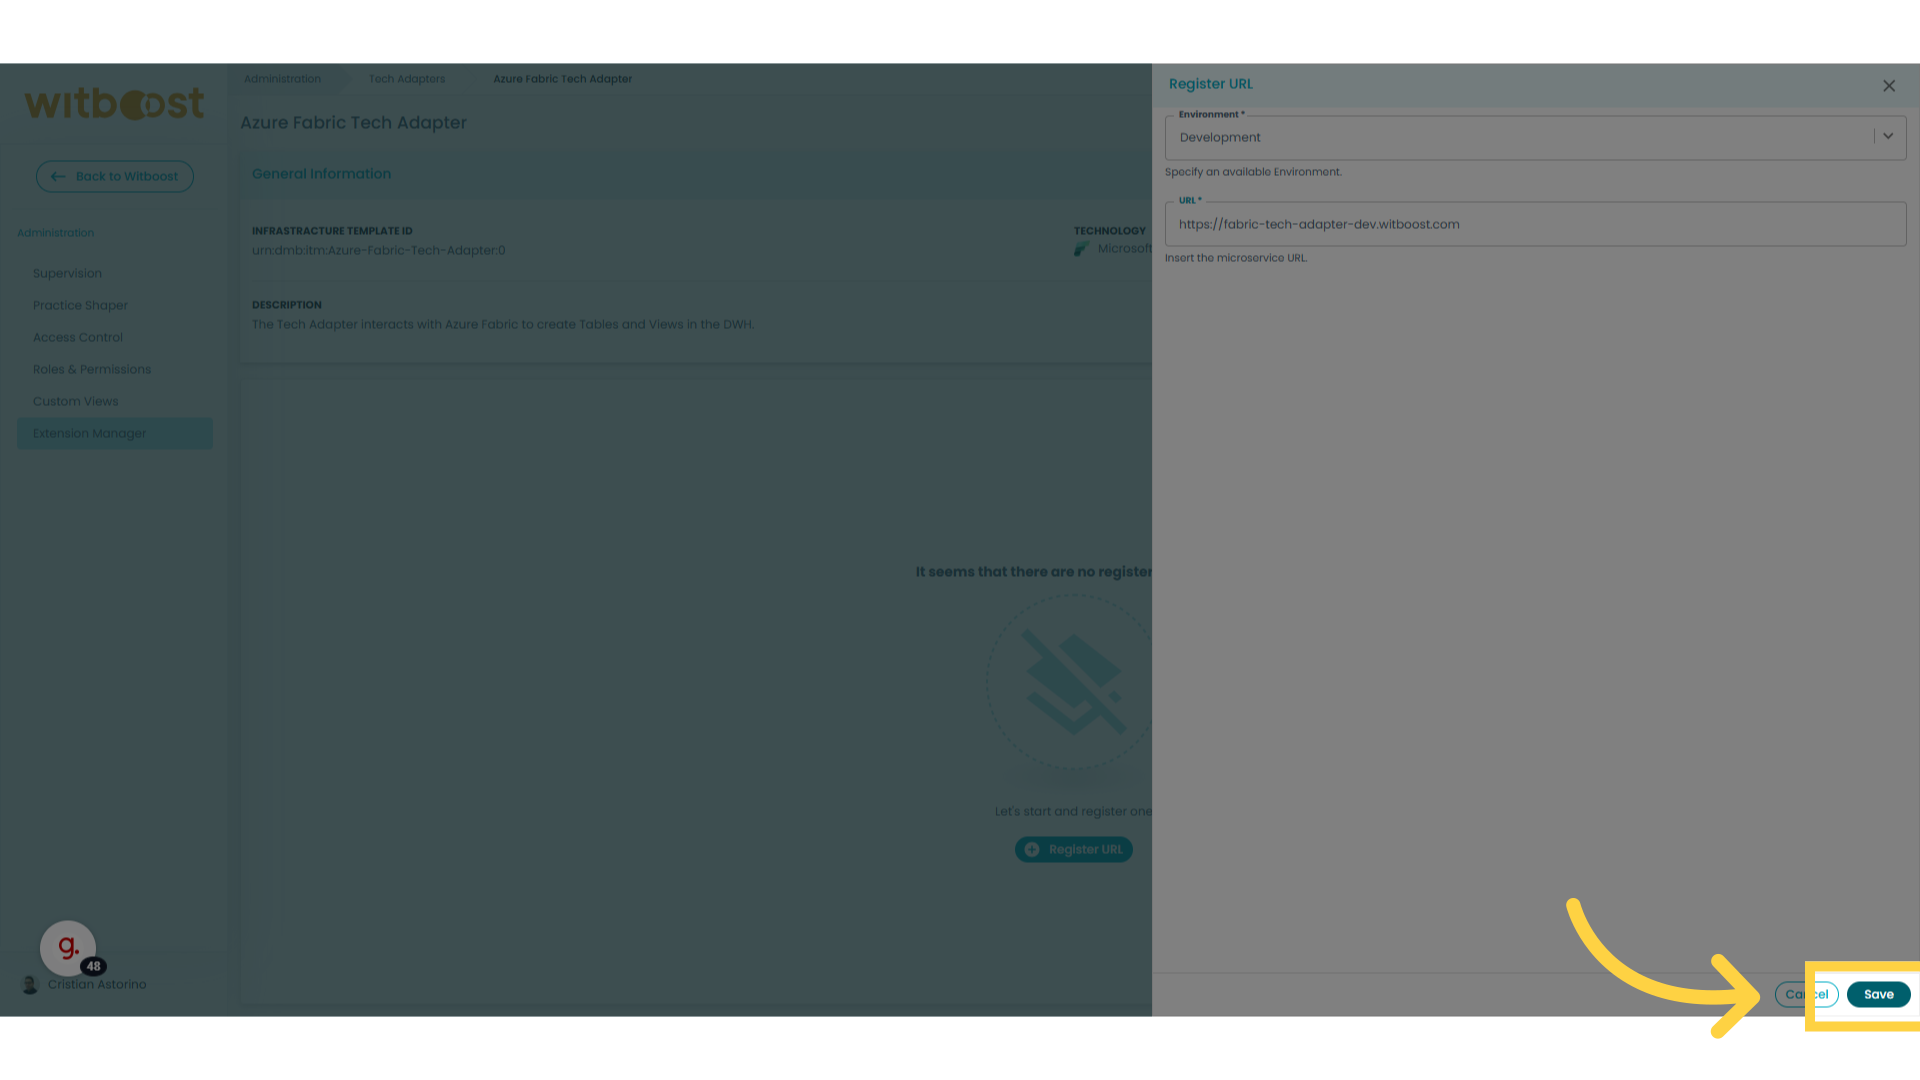
12. Select the environment
Select the right environment from the dropdown
13. Enter the URL
Enter the URL of your deployed microservice for the selected environment
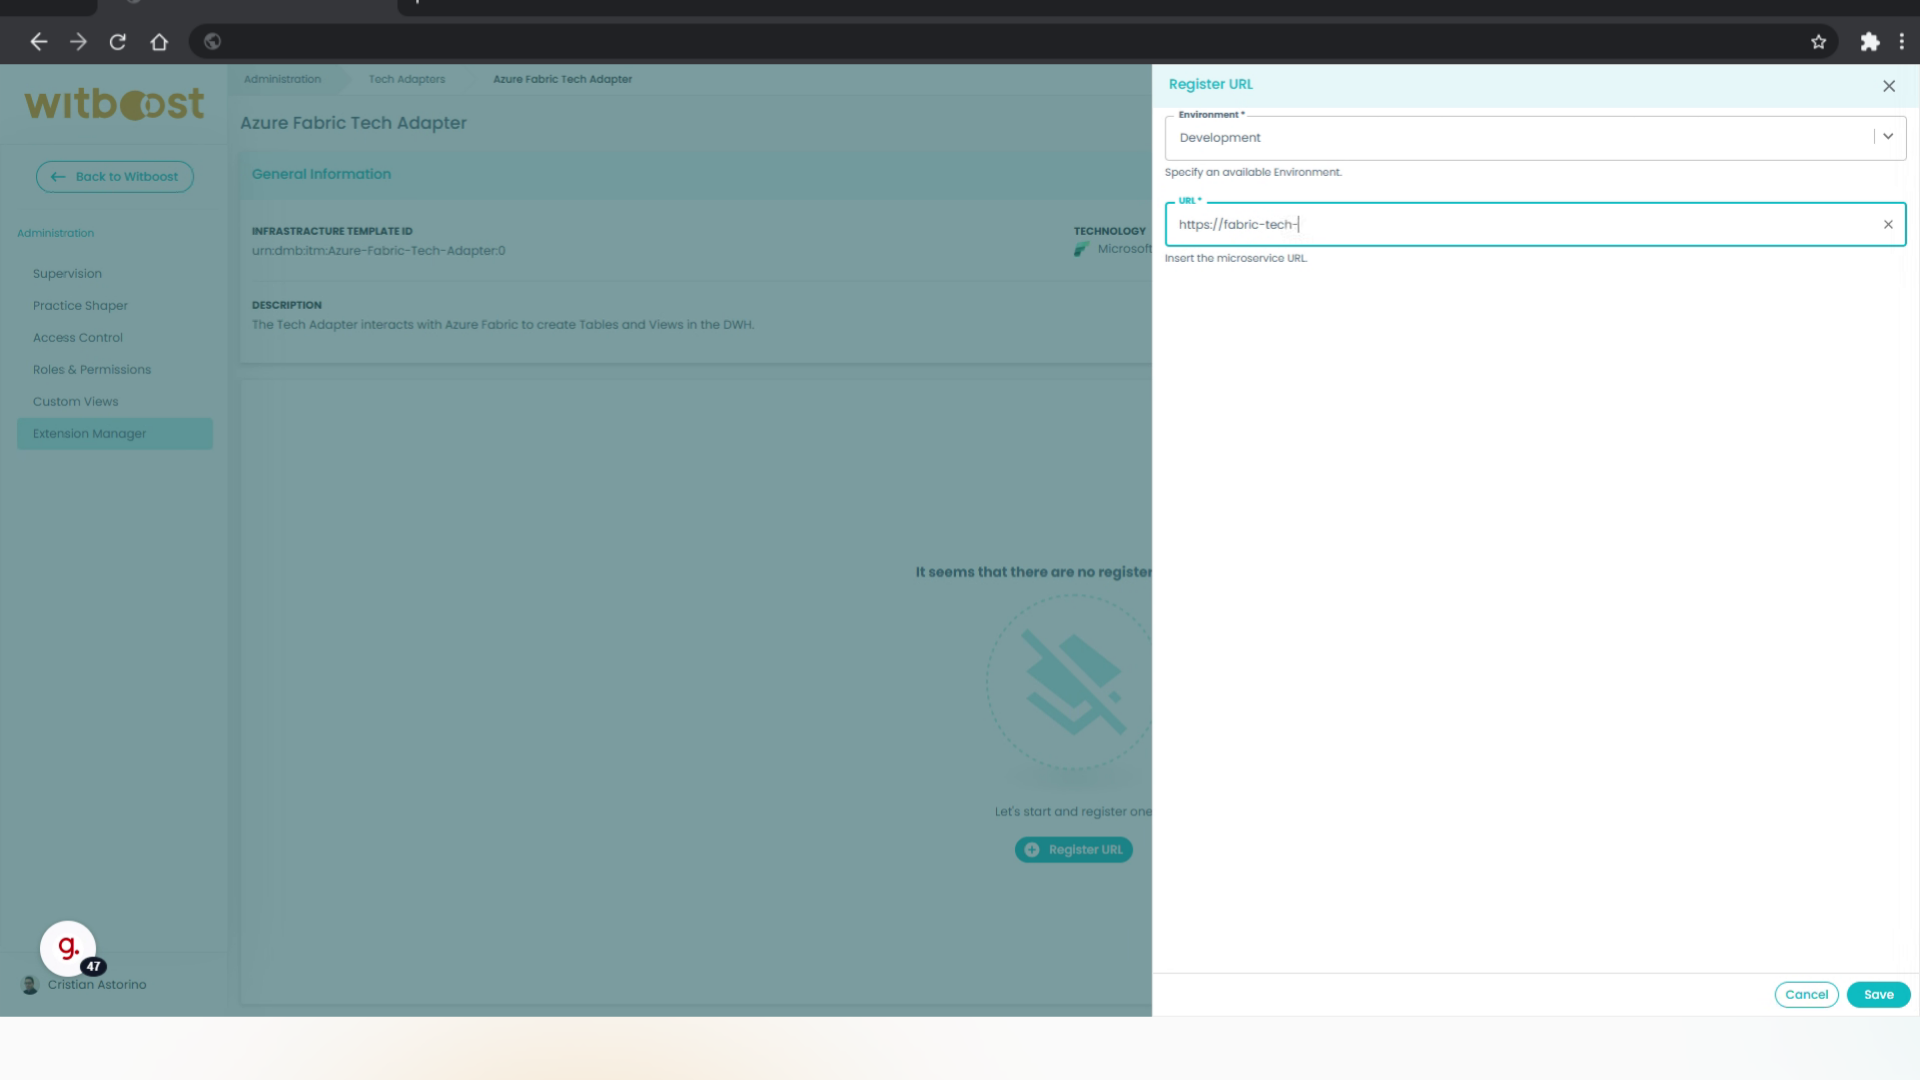
14. Click "Save"
Save the changes.
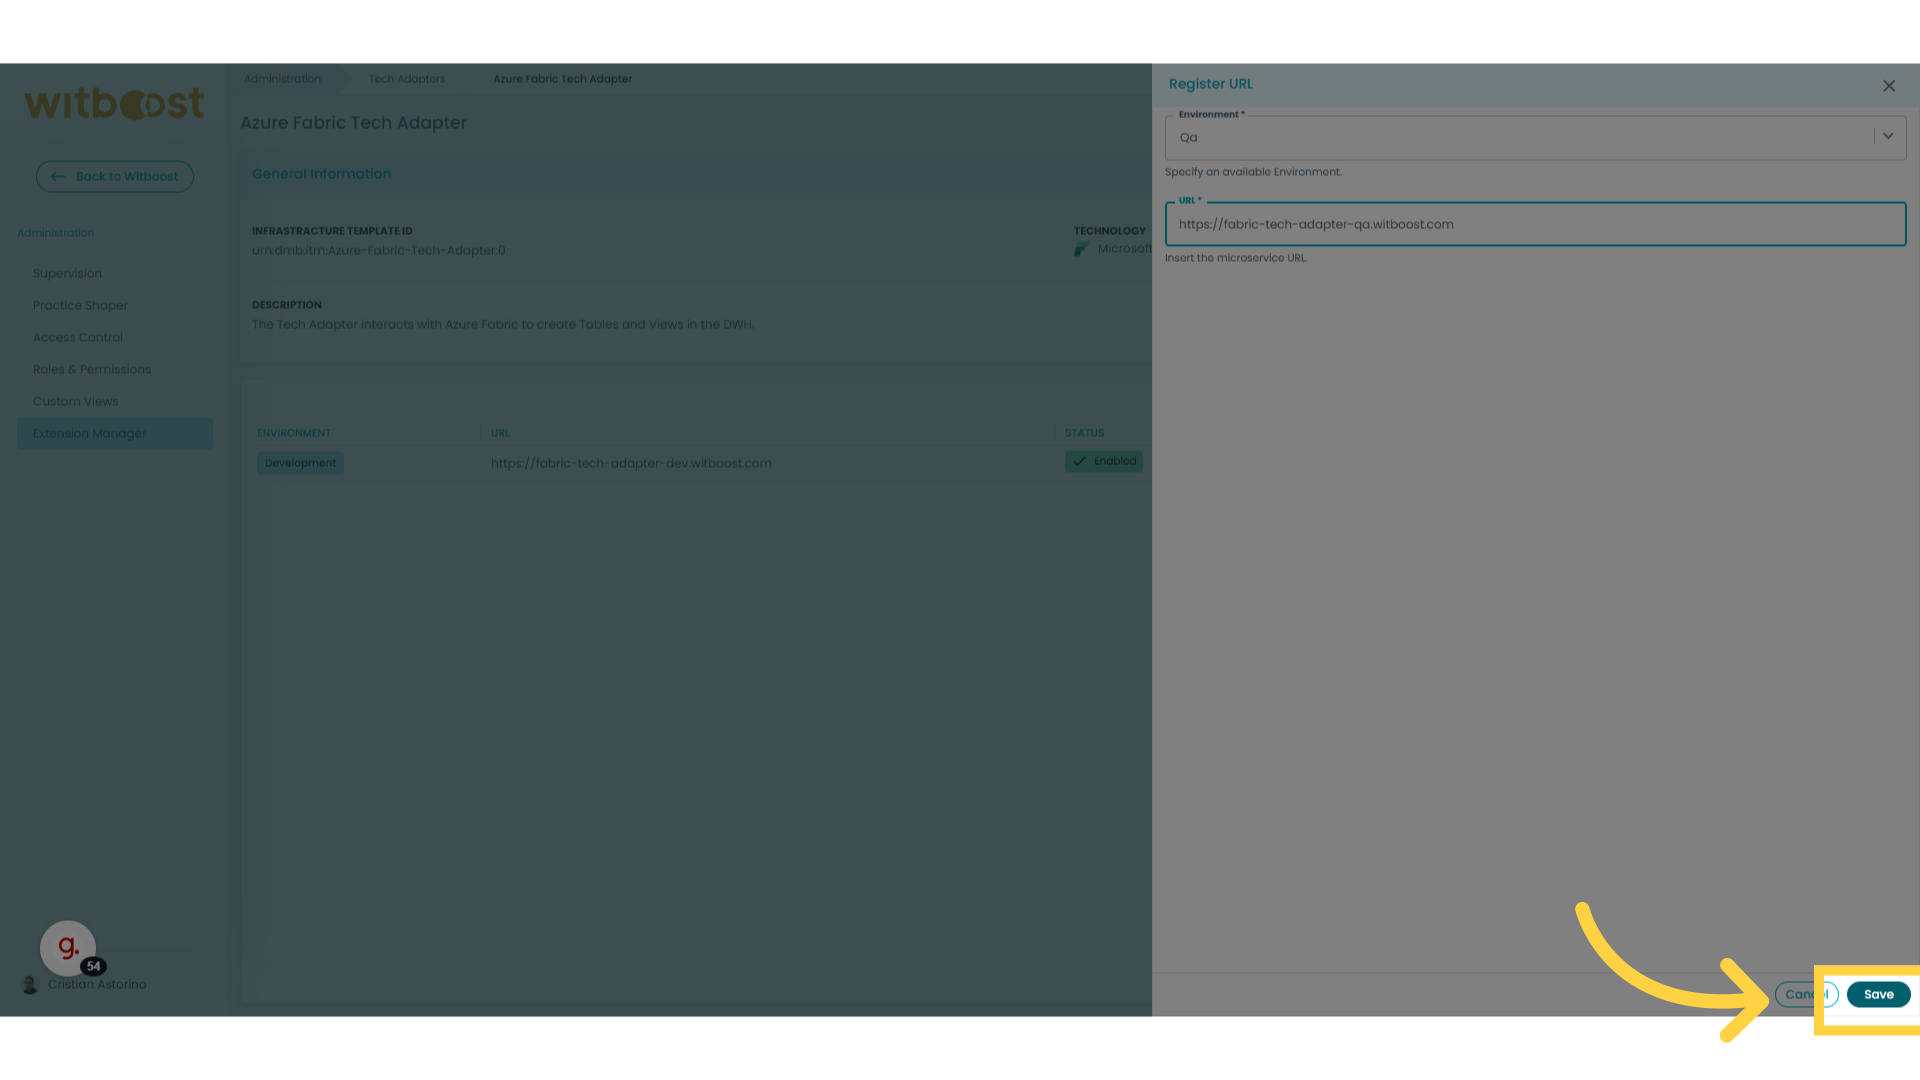
15. Register another URL
Let's register another URL for a different environment
16. Fill the data and save
Fill the data and click Save to store the changes
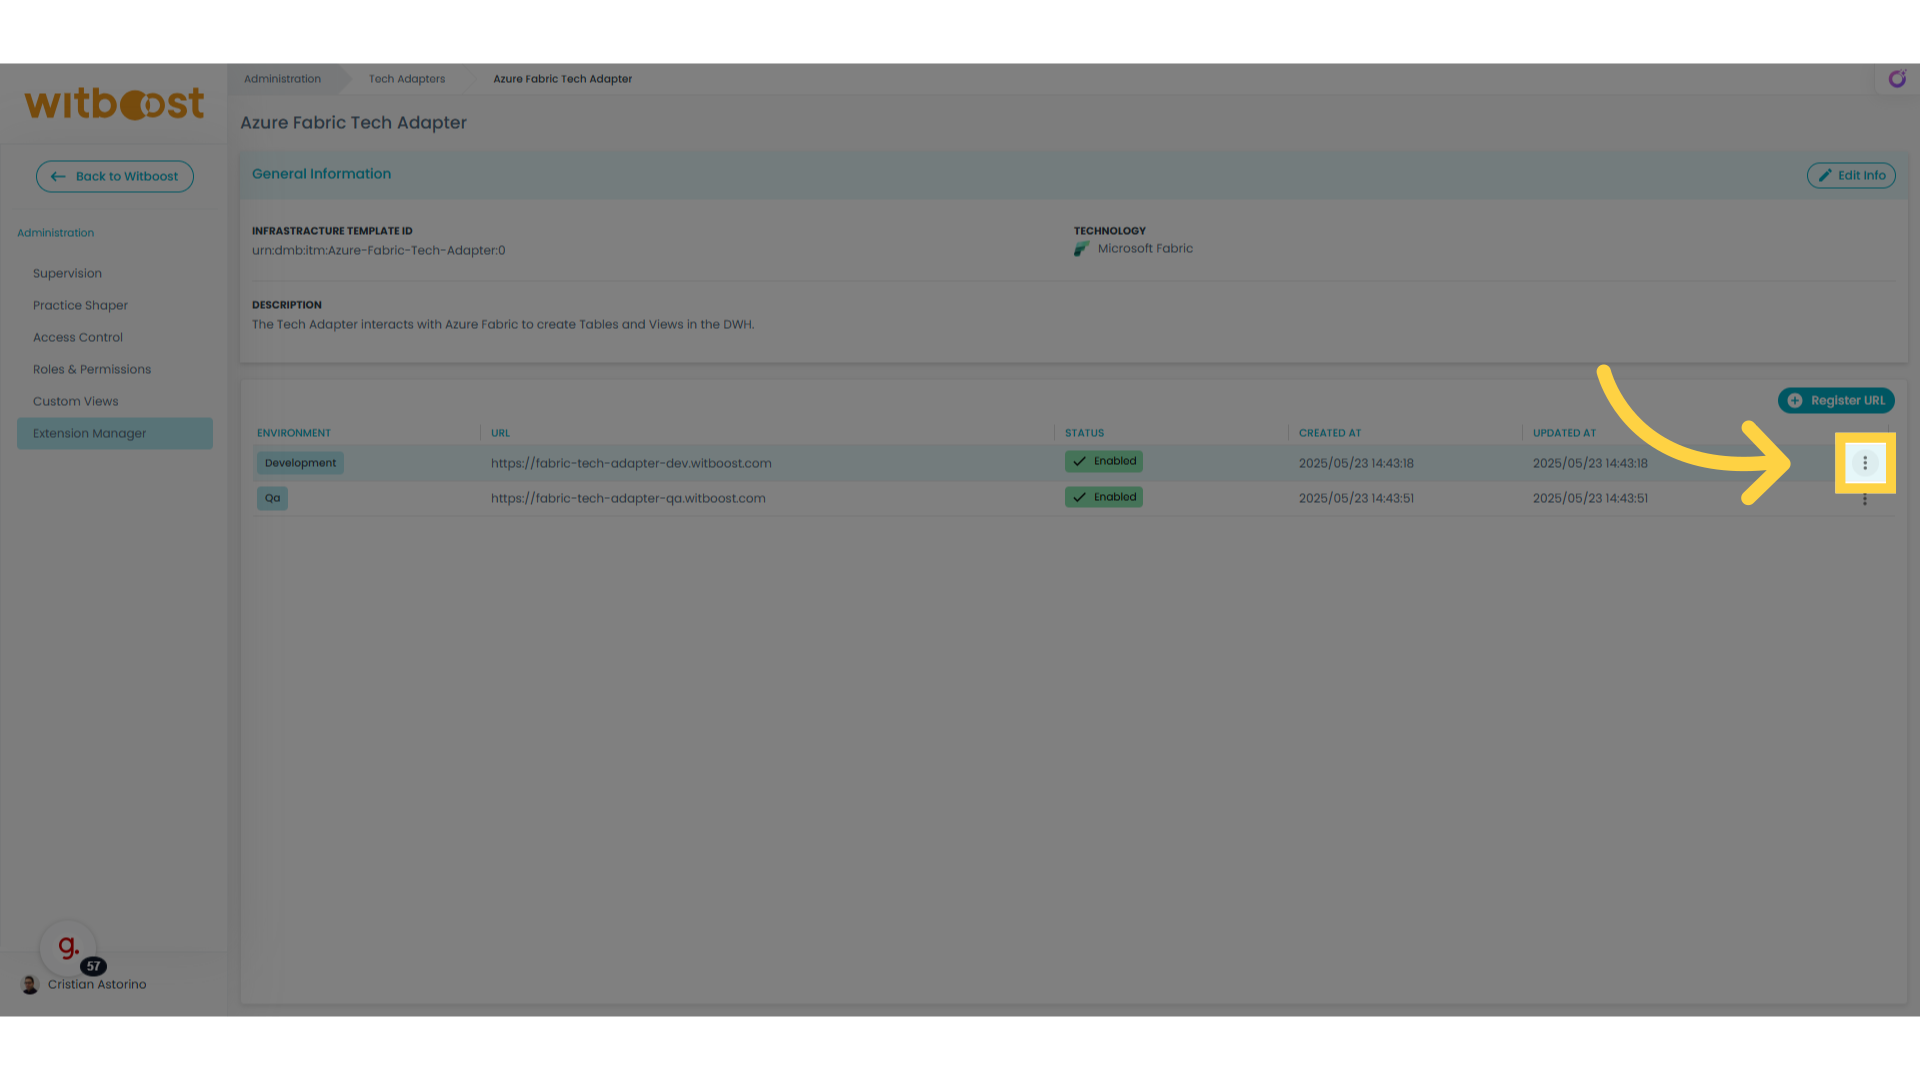
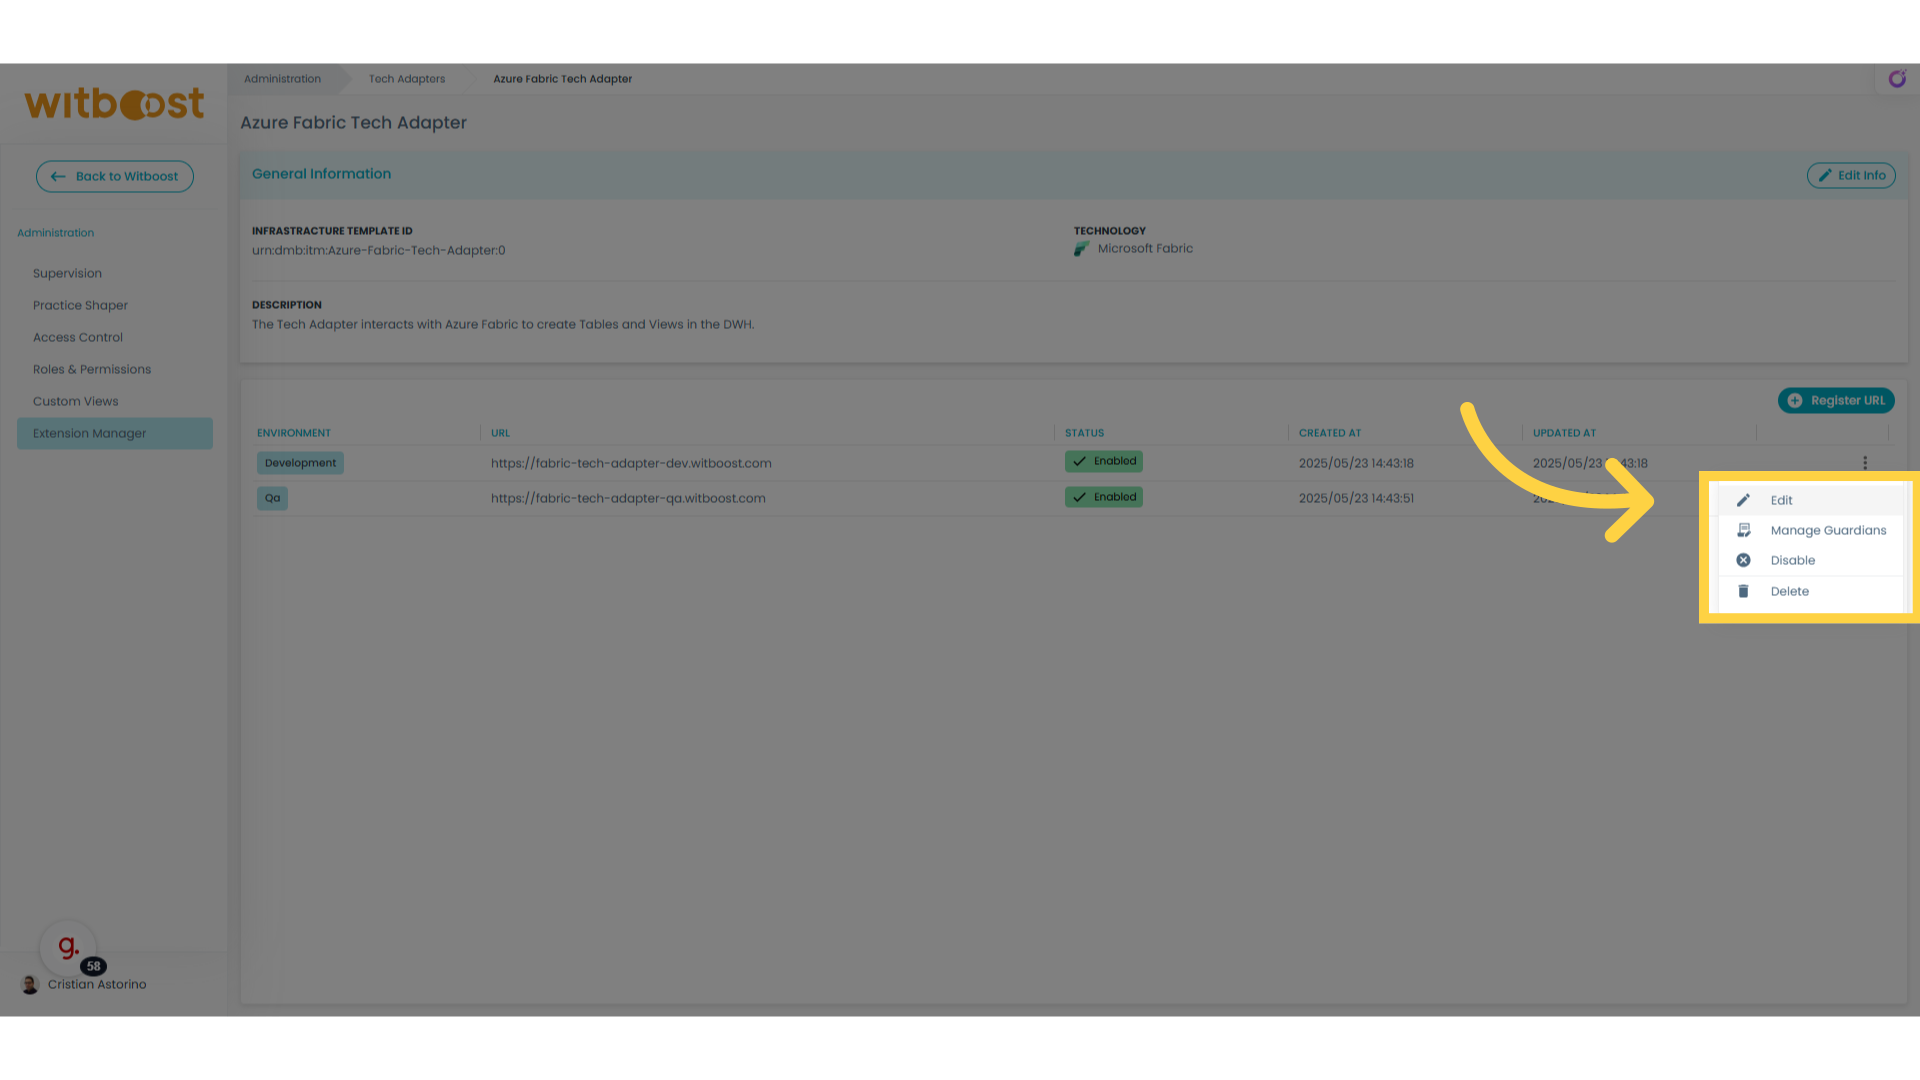
17. Select the kebab menu
Select the kebab menu to view the actions you can do on an already registered URL
18. Click "Edit"
As you can see, you can edit, disable, re-enable or delete a registered URL. Let's try to modify the URL
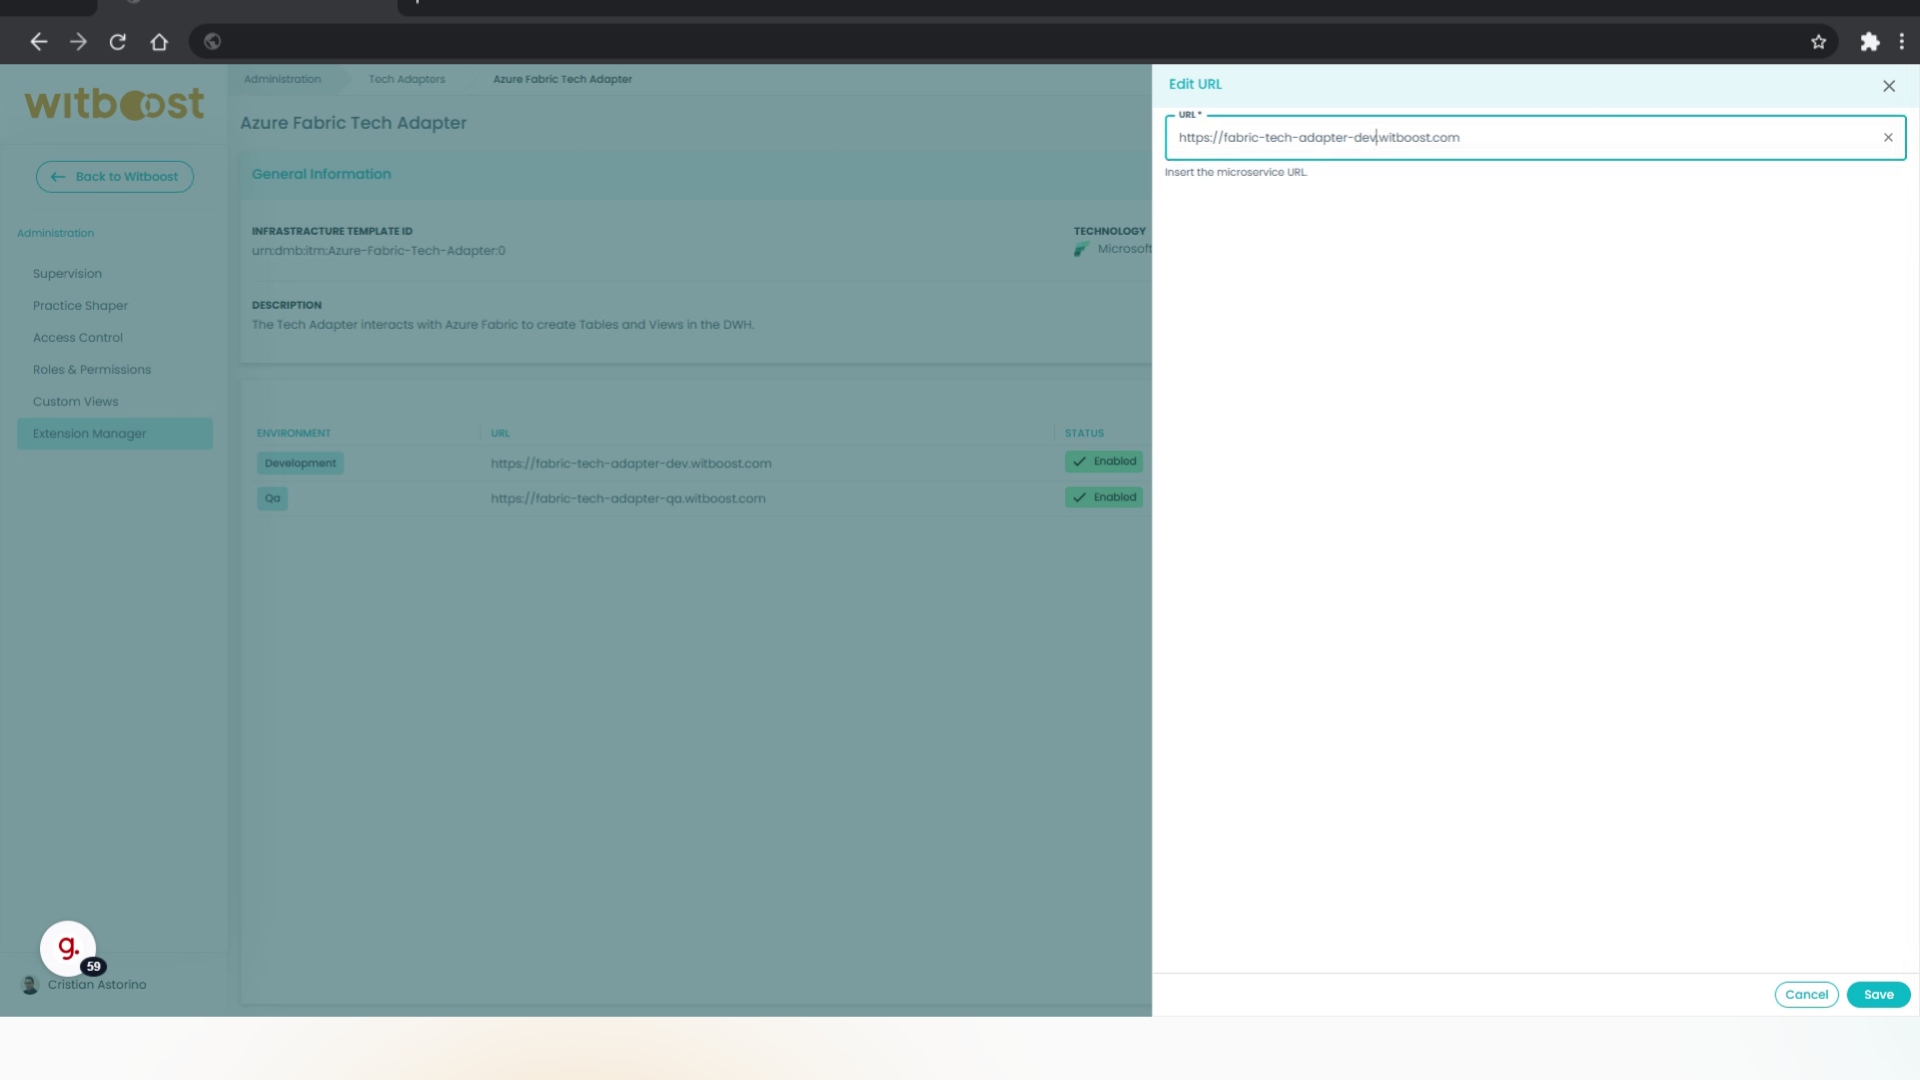
19. Update URL
Enter the updated URL and save the changes.
This guide covered step-by-step instructions on registering a Tech Adapter directly from the Witboost UI, simplifying the work of the Platform Team. All the configurations are applied directly without the need to restart anything.