Template
Every system or component in Witboost is associated to an use case template id that identifies the template it has been created from.
To run an edit operation on a specific system or component, the platform team should declare which fields are allowed to be edited by the users for that entity.
The EditTemplate entity kind allows to define a set of input params and link them to one or more use case template ids. When a user heads to an entity page and an EditTemplate related to the entity's use case template id is found, then they will have the possibility to proceed to the editor wizard where the first step will render an input form based on the params definition stored into the EditTemplate entity.
Entity definition
To define a new EditTemplate entity, the Platform Team needs to create a edit-template.yaml file in a Git repository, with the following properties:
| Field | Type | Description |
|---|---|---|
apiVersion | string | witboost.com/v1 (legacy) or witboost.com/v2 |
kind | string | Fixed to EditTemplate |
metadata | EntityMetadata | Witboost entity standard metadata (e.g. metadata.name) |
spec.domain | string (optional) | Entity domain |
spec.owner | string (optional) | Entity owner |
spec.useCaseTemplateId | list[string] (optional) | This EditTemplate will be associated to each system or component entity with spec.mesh.useCaseTemplateId among the provided ones |
spec.useCaseTemplateRef | list[string] (optional) | Complete reference (type:namespace/name) to one or more use case template entities (e.g. template:default/dataproduct-template). spec.useCaseTemplateId will be automatically filled with the useCaseTemplateIds of the referenced templates. |
spec.parameters | object | Definition of the editable input params |
spec.steps | list[object] (required on witboost.com/v1, deprecated on witboost.com/v2) | Steps definition to create the edit template. In the case of EditTemplate kind, only one is used, the fetch:template action |
If no spec.domain is specified, the EditTemplate entity will be available for all users if RBAC is enabled.
You can fill both spec.useCaseTemplateId and spec.useCaseTemplateRef arrays. The resulting EditTemplate entity will process and merge their elements in a single spec.useCaseTemplateId array.
Property spec.parameters sticks to the same templating language used inside the definition of a use case template (property spec.parameters inside template.yaml).
Sample edit-template.yaml
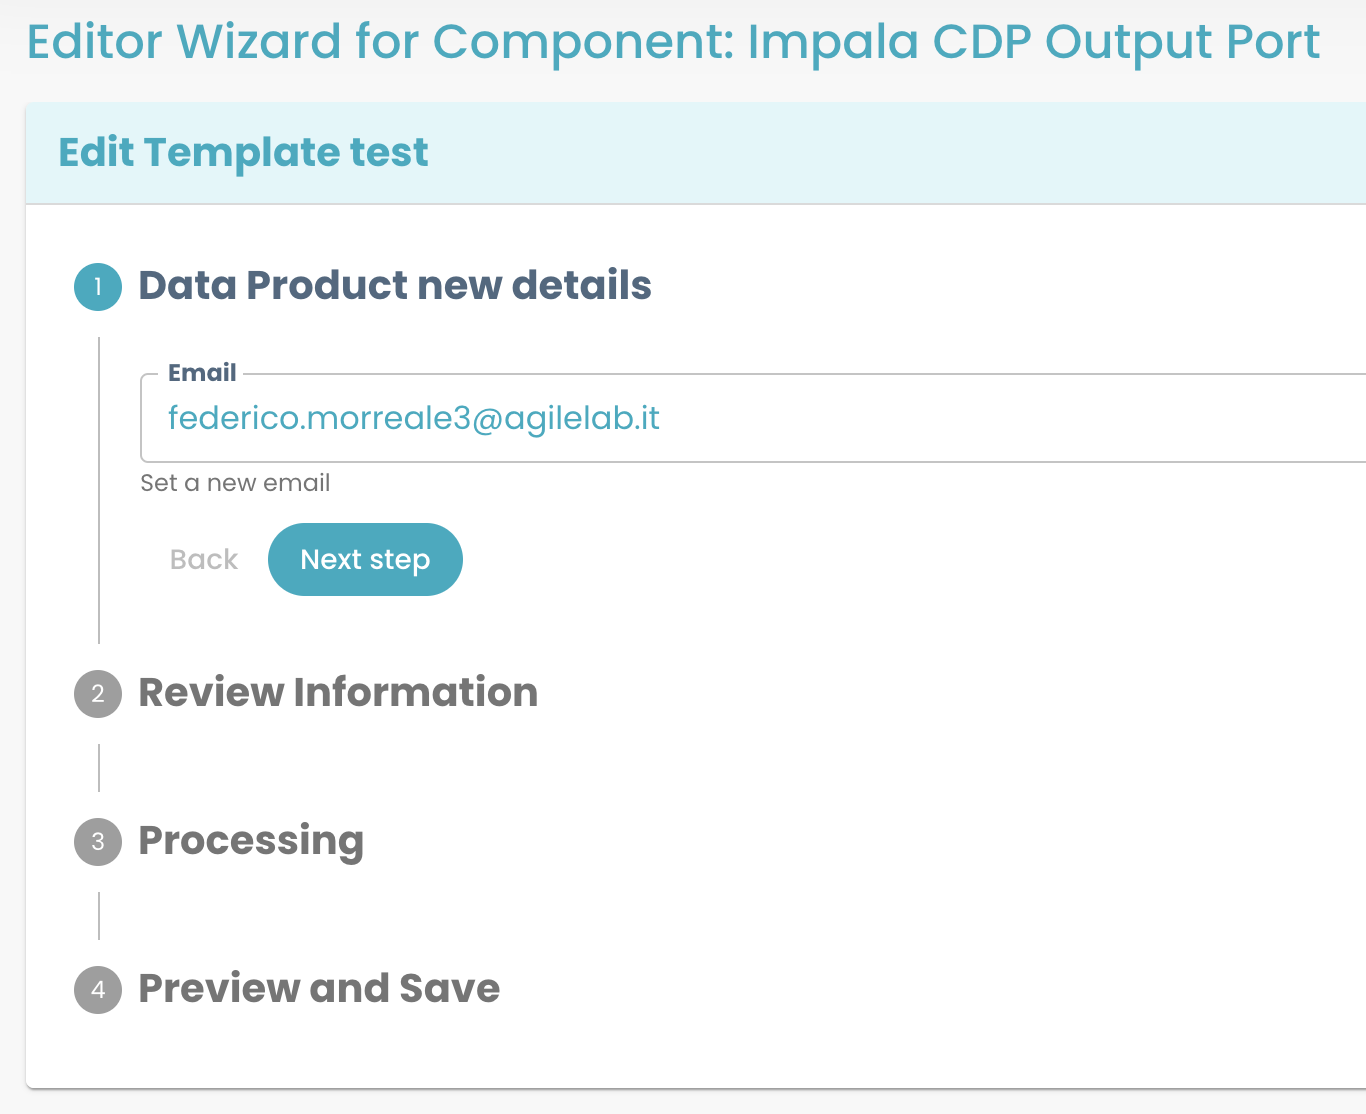
The following sample represents an EditTemplate entity that allows the user to edit only the email field of an entity.
# it is important to use this apiVersion
apiVersion: witboost.com/v2
kind: EditTemplate
metadata:
  name: edit-template-dp
  title: Edit Template test
  description: Edit Template definition of a Data Product
  tags:
    - edit-data-product
spec:
  owner: agile_lab
  useCaseTemplateId:
    - urn:dmb:utm:aws-cdp-outputport-Impala-template:0.0.0
    # you can add other useCaseTemplateIds
  # you can also define templates by their entity ref:
  # useCaseTemplateRef:
  # - template:default/metadata.name
  parameters:
    - title: Data Product new details
      properties:
        email:
          title: Email
          type: string
          description: Set a new email
    # you can add additional parameters too
This specification will create an EditTemplate entity, associated with each entity with a use case template id equal to urn:dmb:utm:aws-cdp-outputport-impala-template:0.0.0.
When a user opens the editor wizard on one of these entities, they will be presented with the form in the following image:
Templating language
To better understand the templating language for editor parameters and the available input field types check this page and this one.
To test a form definition and preview how it will be rendered, you can exploit the Template Studio located at https://<witboost-url>/platform-settings/templates/template-studio. It is not specifically intended for editor templates but it can serve as a good visual preview tool.
Remember to be consistent with your pickers: for example, if in the creation template, the picker that creates the tags field was defined as a CustomUrlPicker, but then in the EditTemplate you define that a standard array picker will edit the tags field, witboost will complain.
Versions
Edit Templates can be defined using either apiVersion: witboost.com/v1 or witboost.com/v2. These versions determine default behaviors, particularly regarding entity compatibility, the structure of the template, and whether editing Skeleton or Legacy entities is supported.
An entity may be editable by multiple edit templates, if more than one template is associated with its useCaseTemplateId.
In such cases, Witboost prioritizes templates using apiVersion: witboost.com/v2 over those using v1.
This ensures that the latest compatibility logic and features are always applied when available.
If no compatible v2 template is found, Witboost will fall back to a matching v1 template — provided it supports the entity type (skeleton or legacy).
witboost.com/v2 (Recommended)
This is the modern, recommended version. It supports editing of Skeleton Entities out-of-the-box and lets you optionally allow or forbid edits on Legacy Entities using a compatibility block.
Key Features
spec.stepsis optional and can be omitted in most use cases.- Natively supports Skeleton Entity editing.
- Supports the
spec.compatibility.legacyEntitiesblock to configure fallback behavior for editing legacy (i.e., non-skeleton) entities.
Compatibility Options (Optional)
When using v2, you can add a compatibility section to control whether legacy entities can be edited using this template:
apiVersion: witboost.com/v2
kind: EditTemplate
# ...
spec:
  compatibility:
    legacyEntities:
      executionPolicy: NOT_ALLOWED # ALLOWED, NOT_ALLOWED (default)
If omitted, default compatibility behavior applies (legacy entities: NOT_ALLOWED).
If legacy entities are allowed, it's necessary to provide spec.steps as in witboost.com/v1.
witboost.com/v1 (Legacy)
This version was originally built for editing Legacy (non-skeleton) Entities. It requires the spec.steps block to define how the edit operation is executed. By default, it only supports Legacy Entities, but can optionally be extended to support Skeleton Entities too.
Key Features
spec.stepsis required.- Natively supports Legacy Entity editing.
- Supports the
spec.compatibility.skeletonEntitiesblock to configure forward compatibility with Skeleton Entities.
Compatibility Options (Optional)
apiVersion: witboost.com/v1
kind: EditTemplate
# ...
spec:
  compatibility:
    skeletonEntities:
      executionPolicy: ALLOWED # ALLOWED, ALLOWED_WITH_WARNING (default), NOT_ALLOWED
By default, Skeleton Entities are supported by v1 templates with ALLOWED_WITH_WARNING execution policy which makes the Editor Wizard display a warning like:

Editing Skeleton Entities
When editing a Skeleton Entity, the editor wizard operates on the entity's parameters.yaml file.
How it works
- The
EditTemplatedefines editable fields via thespec.parameterssection. - When the Editor Wizard loads:
- For each input field, the editor tries to preload its value by reading the corresponding key from the
parameters:section of the entity's existingparameters.yamlfile. - Keys are matched by name, following a 1:1 mapping between the editor parameter name and the YAML key.
- For each input field, the editor tries to preload its value by reading the corresponding key from the
- When the user submits the form:
- The updated values are merged back into the
parameters:block of theparameters.yamlfile. - Existing values with the same name are overwritten.
- The
catalog-info.yamlremains unchanged — values are injected dynamically at render time.
- The updated values are merged back into the
Example
Before editing – parameters.yaml:
parameters:
  displayName: Data Processor
  email: legacy@example.com
User updates email via the editor wizard to john@example.com.
After editing – parameters.yaml:
parameters:
  displayName: Data Processor
  email: john@example.com
The dynamic value in catalog-info.yaml (e.g., ${{ parameters.email }}) will now resolve using the new value.
Recommendations & Limitations
-
Avoid editing parameters defined with Nunjucks expressions. It is not recommended to expose for editing any parameter that is defined in
parameters.yamlusing a Nunjucks expression, such as:parameters:email: ${{ parameters.defaultEmail }}Doing so may cause the editor wizard to overwrite it with a literal string entered by the user when saved. This will break the intended dynamic behavior of that field. If a parameter is derived from another via templating, consider not including it in the editor form, or recalculating it outside of the editable flow.
-
values:section is ignored. Fields under thevalues:section ofparameters.yamlare not preloaded or editable.
Readonly parameters
Parameters in the readonly: section of parameters.yaml are accessible in the edit template and can be displayed in the Editor Wizard, but are not editable.
You can reference them inside the edit template using the __readonly__ prefix:
parameters.yaml
parameters:
  # ...
readonly:
  __version__: 0.1.0-SNAPSHOT-2
edit-template.yaml
apiVersion: witboost.com/v2
kind: EditTemplate
# ...
spec:
  parameters:
    - title: System metadata
      properties:
        __readonly__.__version__: # prefill this field with value of `__version__` in the `readonly` section of parameters.yaml
          title: Version
          type: string
          description: Not editable. System version.
          ui:disabled: true # not-editable field
# ...

Since readonly parameters will never be updated by the edit operation, it's recommended to render these fields as not-editable in the Editor Wizard (ui:disabled flag).
Environment Parameters
Edit Templates support editing environment-specific values (e.g. for dev, qa, prod) by marking a parameter group as environment-aware.
To enable this behavior, set environmentParameters: true on one of the parameter sections in your edit-template.yaml:
spec:
  parameters:
    - title: Environment Variables
      environmentParameters: true
      properties:
        clusterSize:
          title: Cluster Size
          type: string
How it works
- The Editor Wizard will automatically display a separate form section for each environment (dev, qa, prod, etc.).
- Inputs from each section are saved in the parameters.yaml file under the
environmentParametersblock:
environmentParameters:
  dev:
    clusterSize: small
  qa:
    clusterSize: medium
  prod:
    clusterSize: large
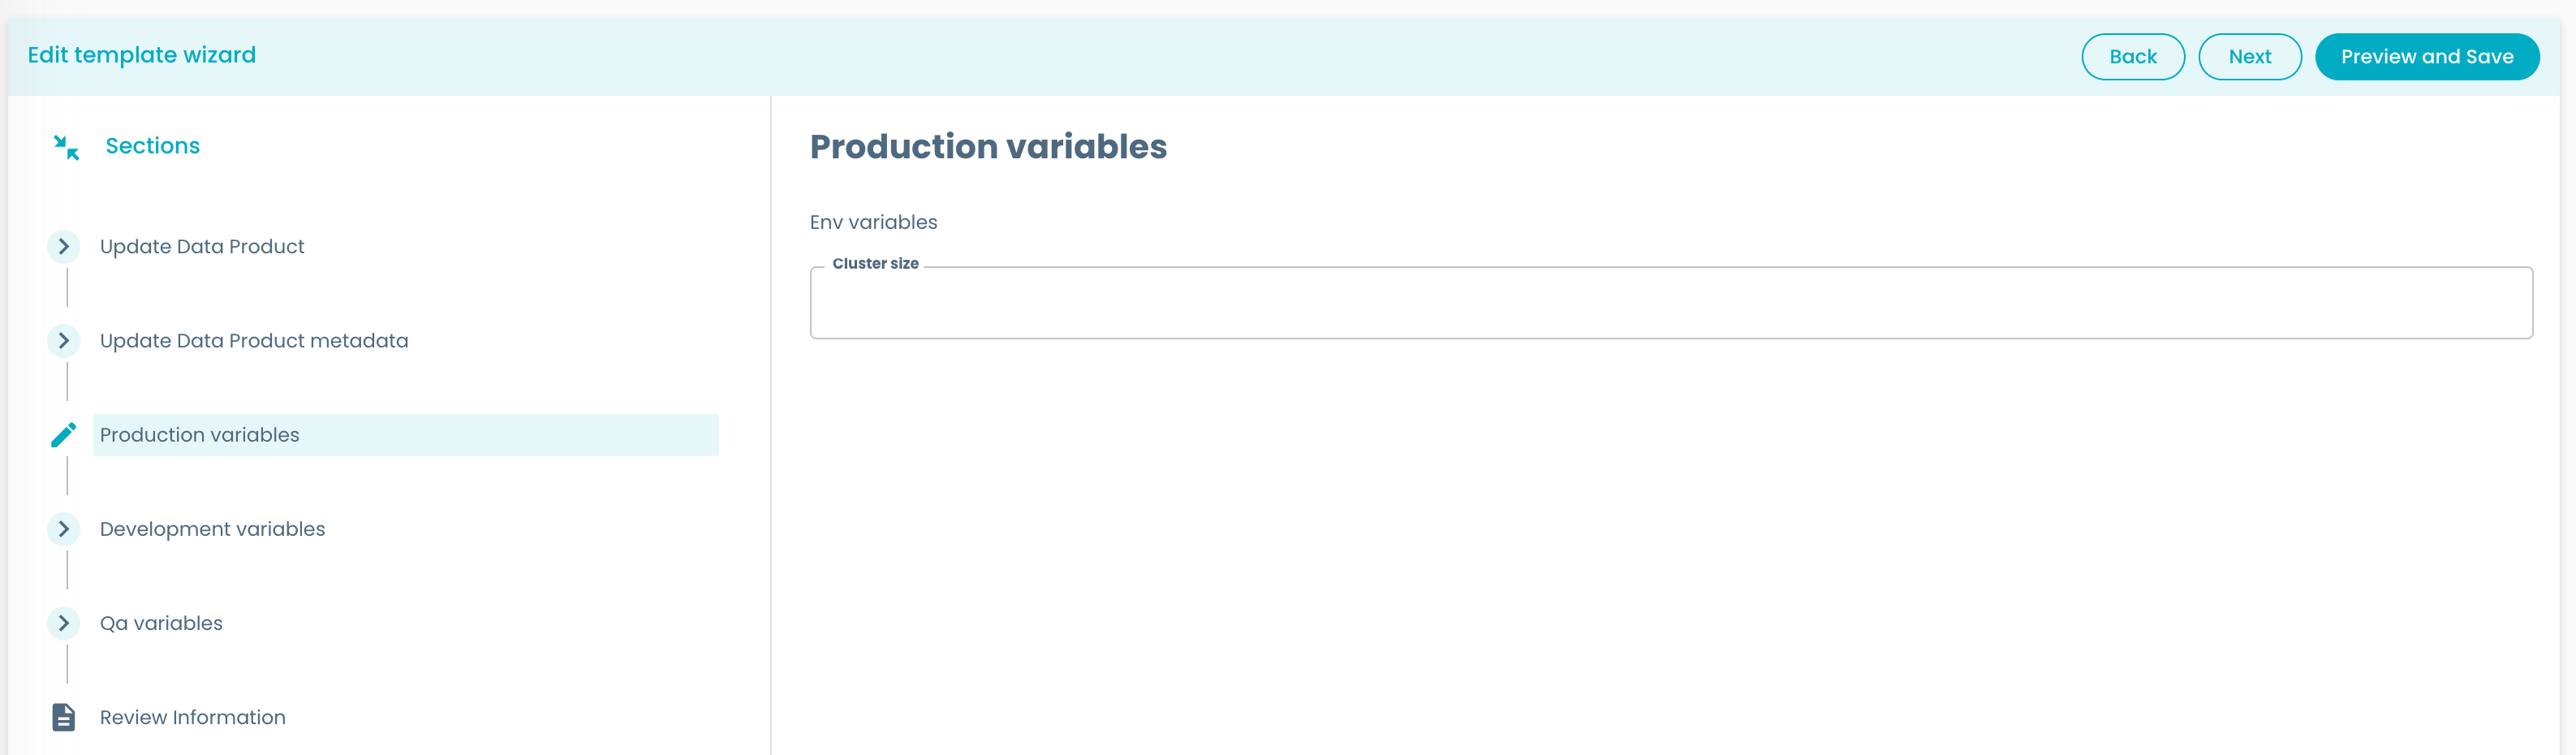
Using this example, the form will look like the one in the image.
Preloading in the wizard
When opening the Editor Wizard, Witboost will preload values for each environment from the corresponding keys in parameters.yaml. For instance:
environmentParameters:
  dev:
    clusterSize: small
This will pre-fill the Cluster Size field for the dev section with "small".
When the user submits the form, updated values are merged back into the same structure, replacing any existing values.
Limitations
- At most one environment parameters section can be enabled per template.
- Pickers in an environment parameters section cannot be referenced by other pickers in the template, even if they are in the same environment parameters section.
Editing Legacy Entities
Whether you are editing a legacy entity through a v1 template or a v2 template with backward compatibility enabled, you must define an edit skeleton and link it to the template through the spec.steps[template] property:
apiVersion: witboost.com/v1
kind: EditTemplate
# ...
spec:
  properties:
    # ...
  steps:
    - id: template
      name: Fetch Skeleton + Template
      action: fetch:template
      input:
        url: ./edit-skeleton # relative path to the folder containing the edit skeleton
        targetPath: .
        copyWithoutRender:
          - .gitlab-ci.yml
        values:
          # values to provide to the edit skeleton
          email: '${{ parameters.email }}'
Edit skeleton
The edit-skeleton folder must include a catalog-info.yaml file that defines the parts of the entity you want to make editable. This file should use Nunjucks templating syntax and will be rendered using the values defined in the EditTemplate (spec.steps[template].values).
Once rendered, its content is merged into the catalog-info.yaml file of the entity being edited.
Example: edit-skeleton/catalog-info.yaml
spec:
  mesh:
    email: ${{ values.email | dump }}
This example updates the email field under spec.mesh using the value entered by the user in the editor wizard.
A typical edit template repository structure might look like this:
.
├── edit-template.yaml
└── edit-skeleton/
    └── catalog-info.yaml
The edit operation supports not only updating existing fields but also adding or removing them:
- If a field is defined in the
EditTemplateand filled by the user during editing, it will be added or updated in the entity'scatalog-info.yaml. - If the user leaves a field blank, the field will be removed from the final catalog file.
This behavior gives users full control over the editable fields, while the Platform Team defines exactly what can be changed.
Entity registration
Once edit-template.yaml (and its related catalog-info.yaml skeleton, in case of Legacy Entities) is defined, you can register the EditTemplate entity in Witboost.
Automated way
When an edit-template.yaml is placed in the same folder as an already registered Witboost use case template's template.yaml file (Template entity), it will be automatically fetched by Witboost and the related EditTemplate entity will be registered (or refreshed).
Manual way
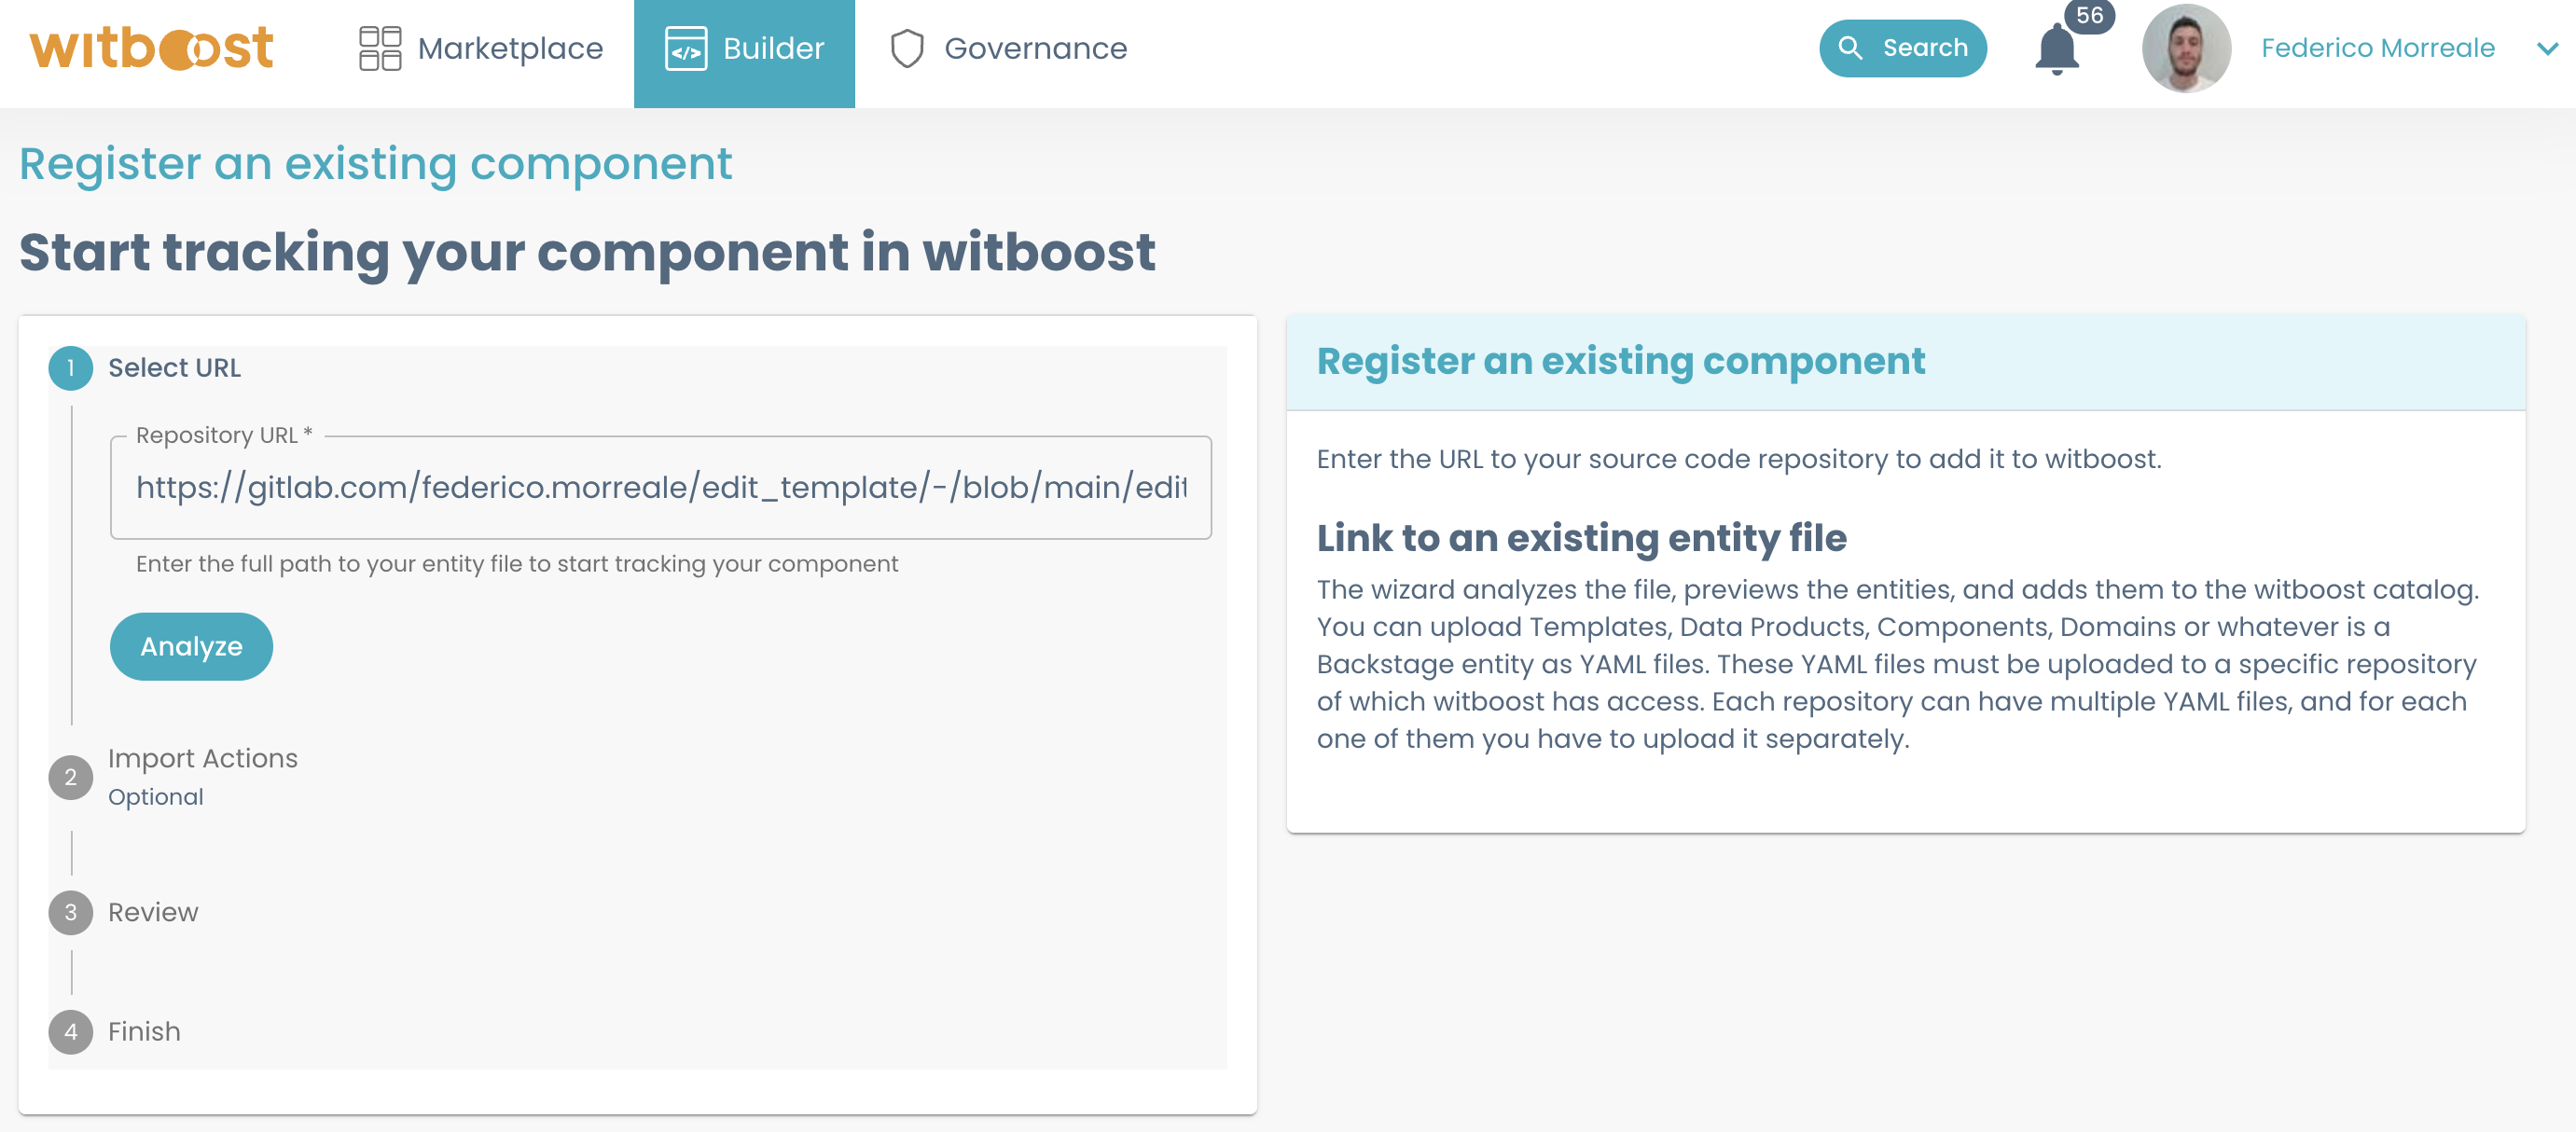
It's also possible to manually register EditTemplate entities from the Template Import page https://<witboost-url>/platform-settings/templates/import (Administration > Templates > Register Template button) by providing the URL of edit-template.yaml.
You can link multiple useCaseTemplateIds to the same EditTemplate (for example, you could have an EditTemplate that edits only the email field, so it could be useful to link it to more than one Template).
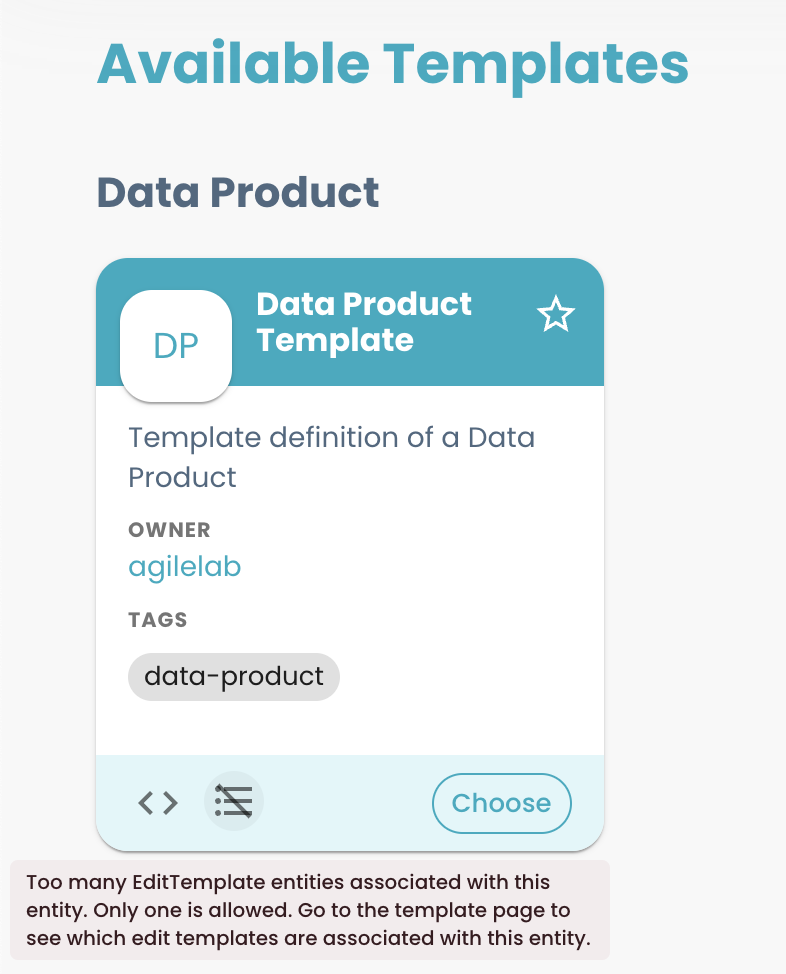
However, the vice-versa is not possible:
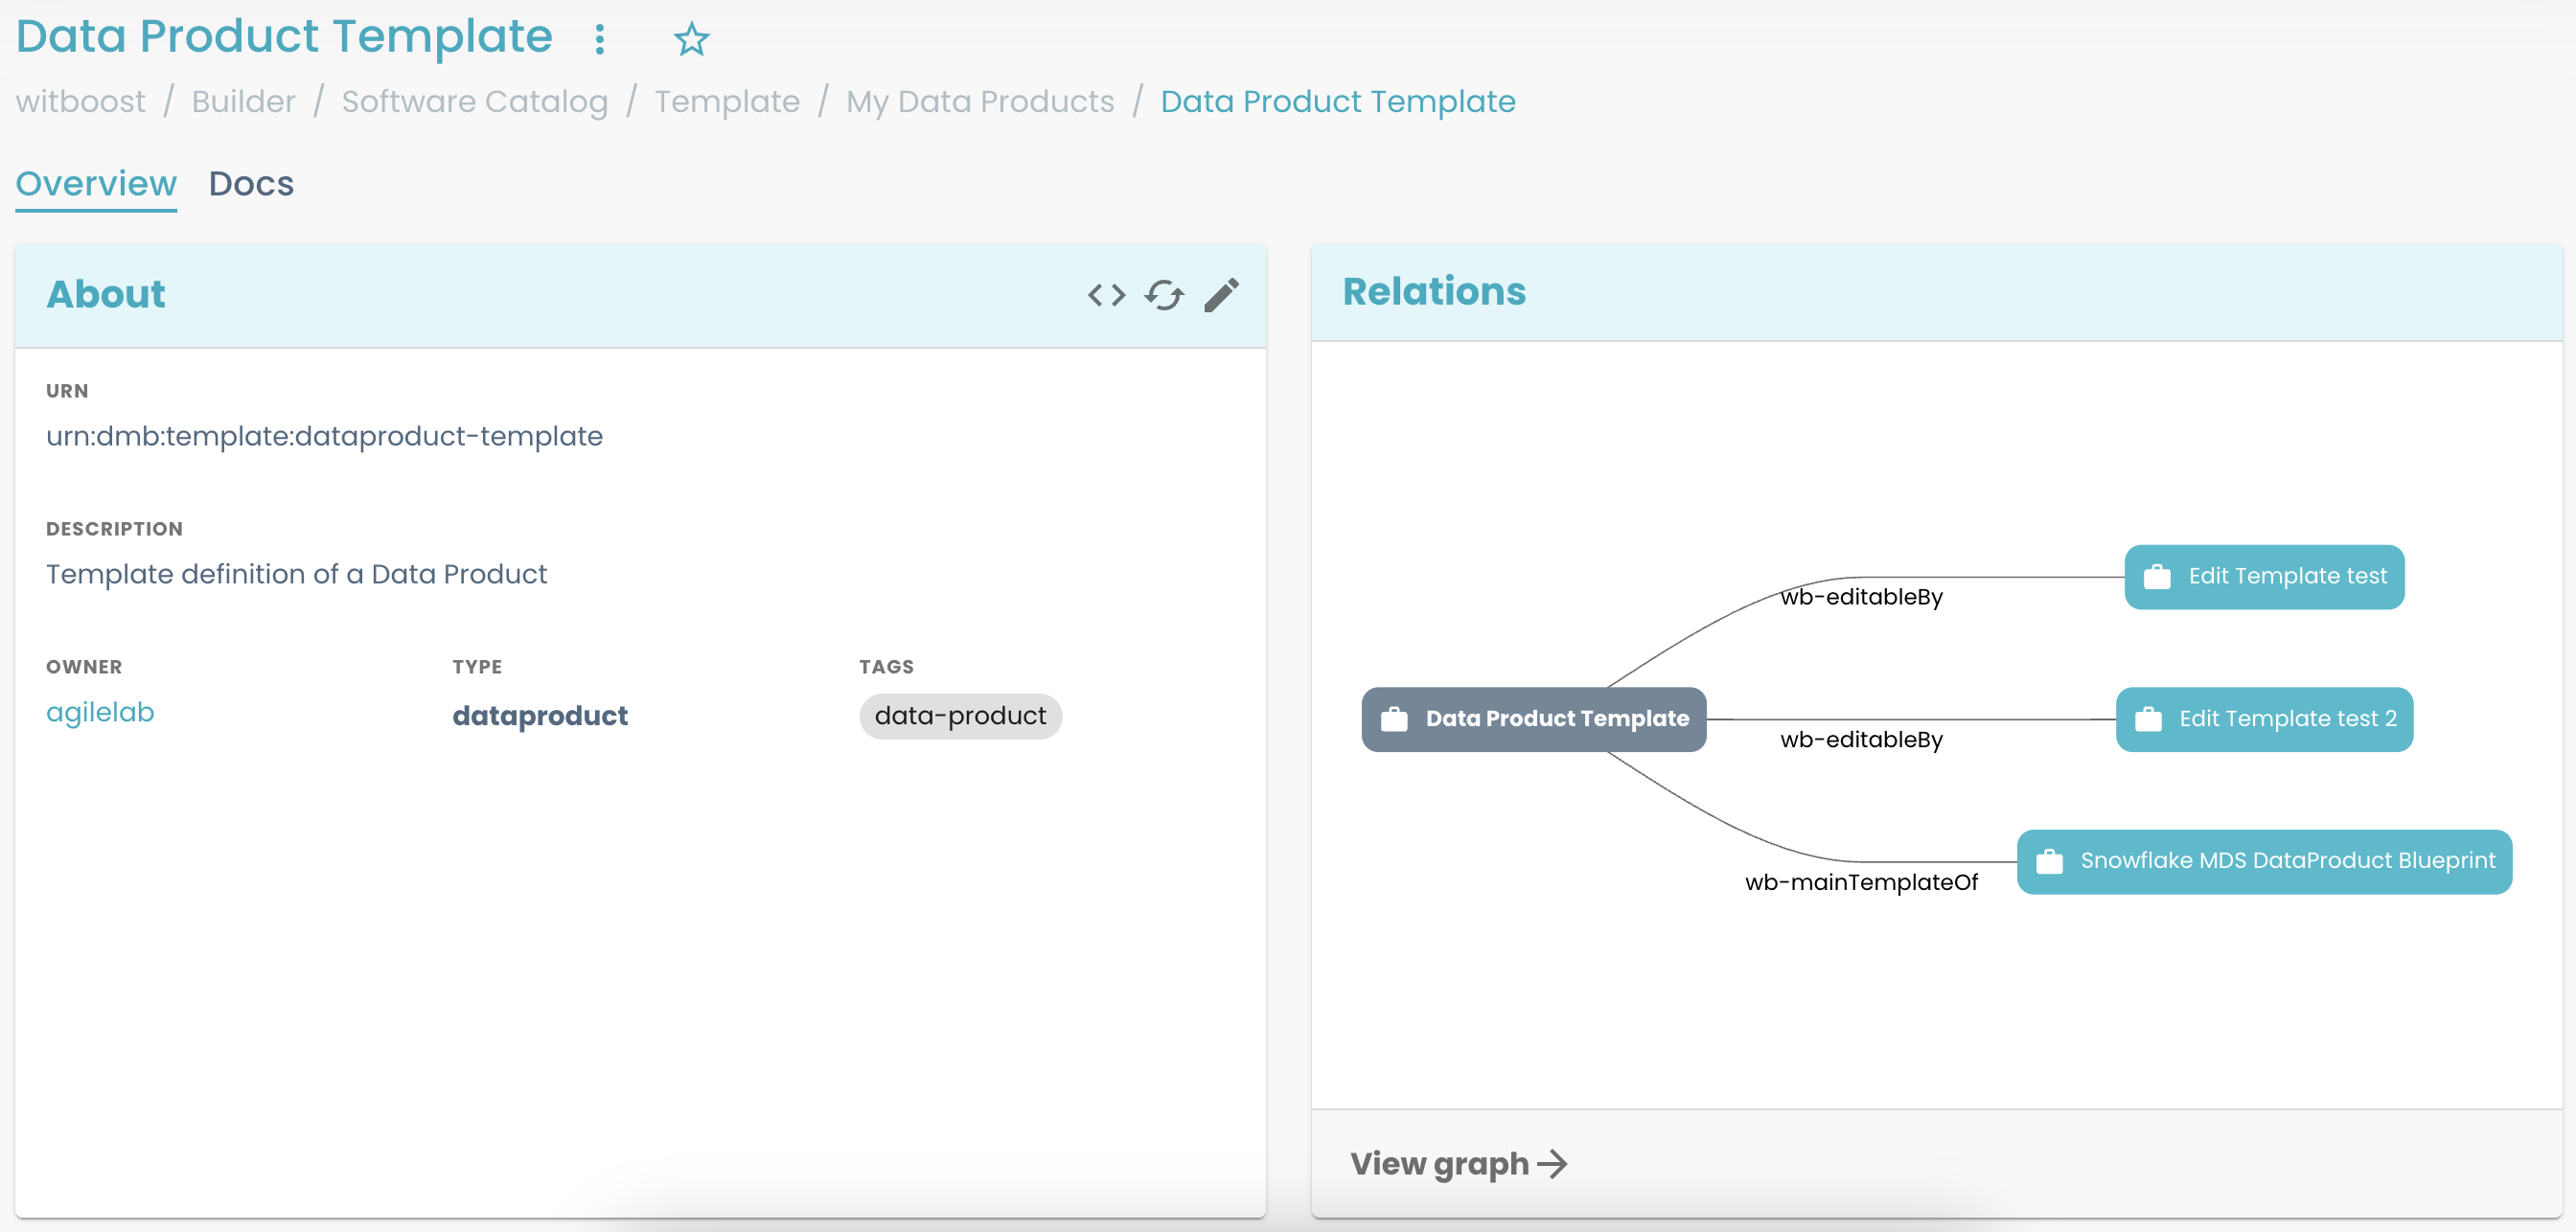
You cannot link to the same useCaseTemplateId (so, the Template) more than one EditTemplate. If you do that, you will see in the page, under Builder -> Templates this warning:
 By clicking the Wizard Off icon, you will be redirected to the
 Template entity page where you can see all the relations, so that it is easier to notice which are the duplicates (see the editableBy relations).
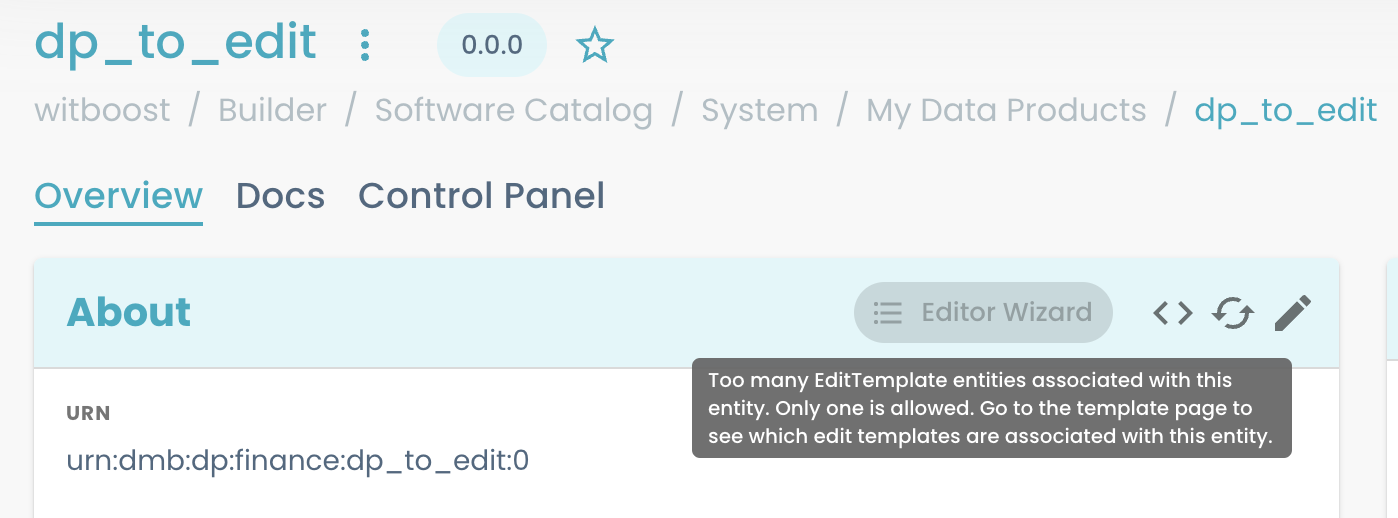
 and in the Entity page, linked to the
 useCaseTemplateId, if you open the Edit menu, you will see something like this
Template reloading
In order to reflect the modifications made on the edit-template.yaml to the witboost EditTemplate entity you have two options:
- wait for Witboost to automatically fetch and sync the changes
Administration>Templates>Edit TemplatesTab > Open the target entity page > Click on the refresh icon
Documentation
EditTemplate entities can be documented exactly like other witboost entities. Check this section for additional details.
The documentation can then be read from the EditTemplate entity page (Docs tab).
Edit Template Checklist
The following checklist can be used to verify if an EditTemplate entity has been loaded successfully and is semantically correct.
-
Go to
Administration>Templates>Edit Templatestab- Check: the target entity is found
- Open the entity page
- Check: no errors are displayed
- Check: in the relations graph, the edit template is linked to the existing
Templateswith acanEditrelation.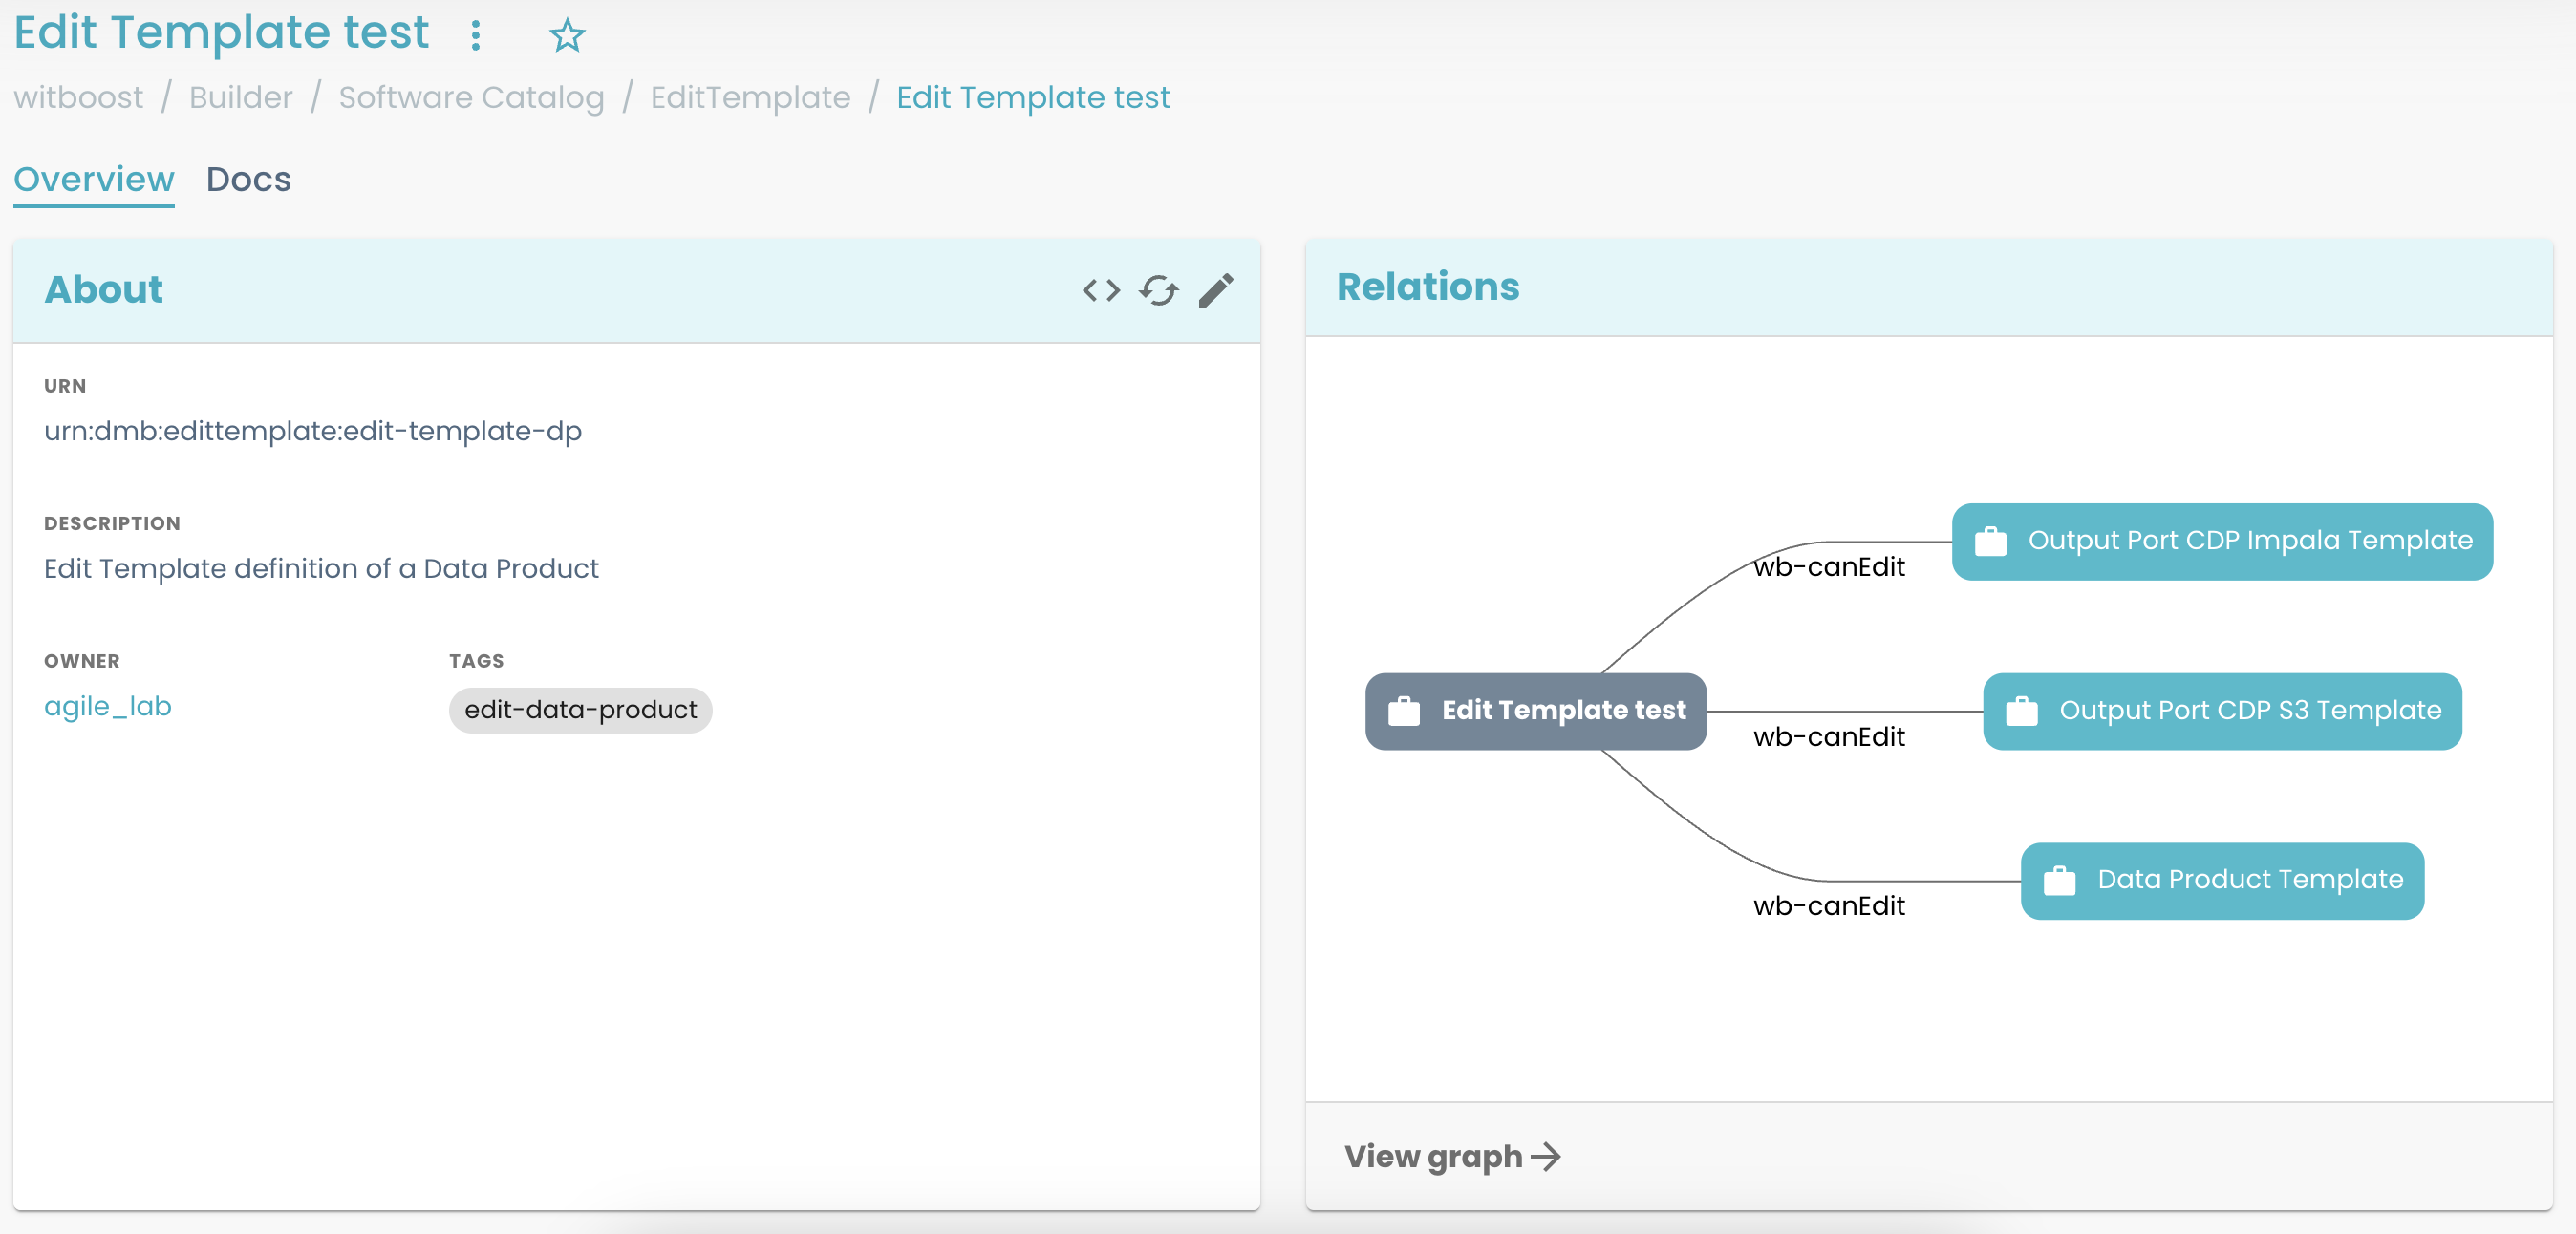
- Check: in case you documented the entity, the
Docstab correctly renders it.
-
Go to
Builder>Templates- Check: every use case template listed in the
spec.useCaseTemplateReffield inedit-template.yaml- or every template that generates entities with one of the use case template ids inspec.useCaseTemplateId- features a clickable wizard icon that redirects toEditTemplateentity page.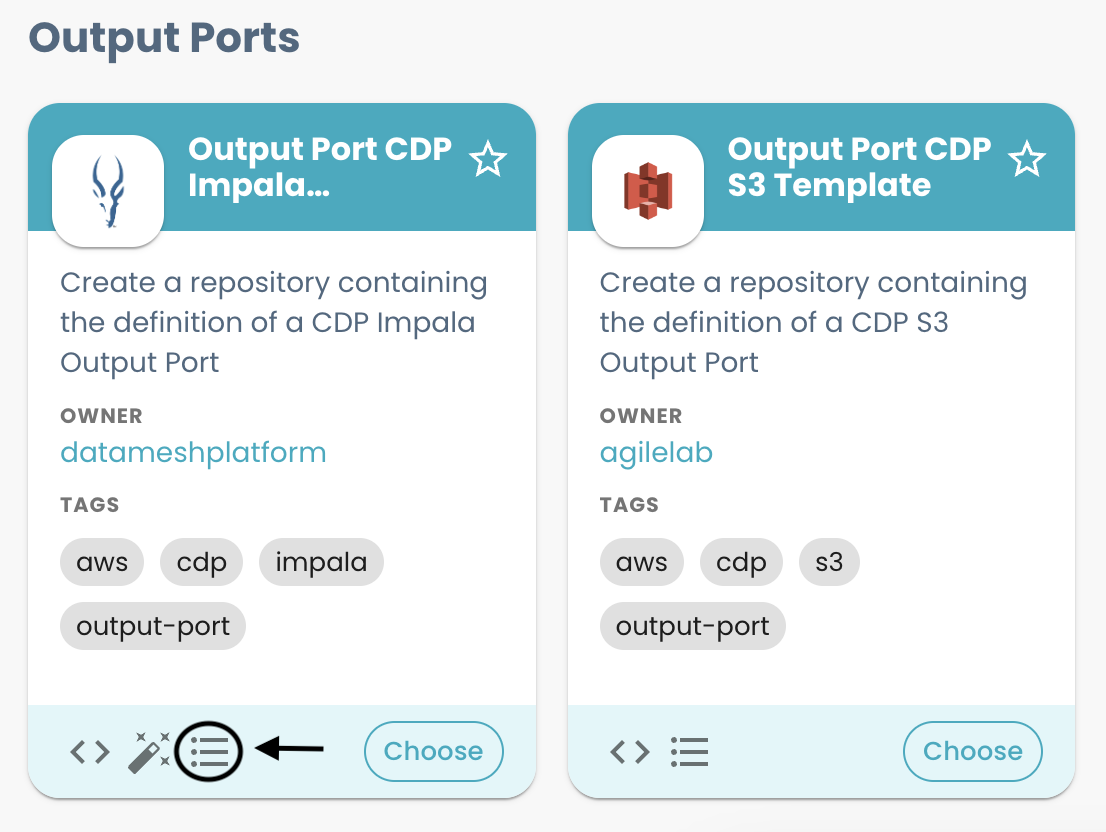
noteThe wizard icon on a use case template card indicates that every entity created starting from that use case template is suitable for the editor operation; the edit input parameters are defined by the
EditTemplateentity referenced by the icon hyperlink. - Check: every use case template listed in the
-
Open the editor input wizard of one of the target entities
- Check: the input form in the first step of the wizard is correctly rendered and it's the desired one.
Entity removal
An EditTemplate entity can be unregistered from the Templates page (Administration > Templates > Edit Templates Tab > Find the target entity) just like any other witboost entity.
If you unregister an entity whose edit-template.yaml is placed in the same folder of a witboost use case template's template.yaml file, it will be automatically reloaded by witboost (see the Automated entity registration section above). In this case, please remember to first remove edit-template.yaml from the repository before deleting the related entity from the Templates.